

OpenClaw (formerly Moltbot, and part of the Clawdbot family) is one of the most popular open-source autonomous AI agents. It can complete tasks on your behalf and even work proactively in the background. The catch is that if you power it with a cloud-hosted model, the costs can add up quickly. For example, here's what running OpenClaw in the cloud might cost with heavy daily usage, depending on the model:
| Model | Estimated cloud cost (heavy daily use) |
|---|---|
| DeepSeek V3.2 | ~$50/month |
| GPT-5.x Mini | ~$150/month |
| GPT-5.6 | ~$500/month |
These are rough estimates, and your actual costs will depend on your usage patterns. However, they're realistic — many users report spending hundreds or even thousands of dollars per month running autonomous agents. The good news is that you can eliminate those ongoing model costs by running a local AI model instead.
In this article, we'll show you how to run the OpenClaw AI agent locally with Atomic Chat, allowing you to power it with an offline AI model that costs nothing to use.
Prerequisites and system requirements
To run OpenClaw locally, you'll need:
- A Mac with at least roughly 8GB of unified memory, or a PC with at least 8GB of VRAM, to run the model via Atomic Chat.
- Node.js 22.22.3+ to run OpenClaw.
- The Atomic Chat app (the local model provider) and the OpenClaw CLI (the agent) — we'll install both below.
1. Install Atomic Chat and load a local model
Before getting started, let's download Atomic Chat, as it will help us serve a local model.
Download and install Atomic Chat
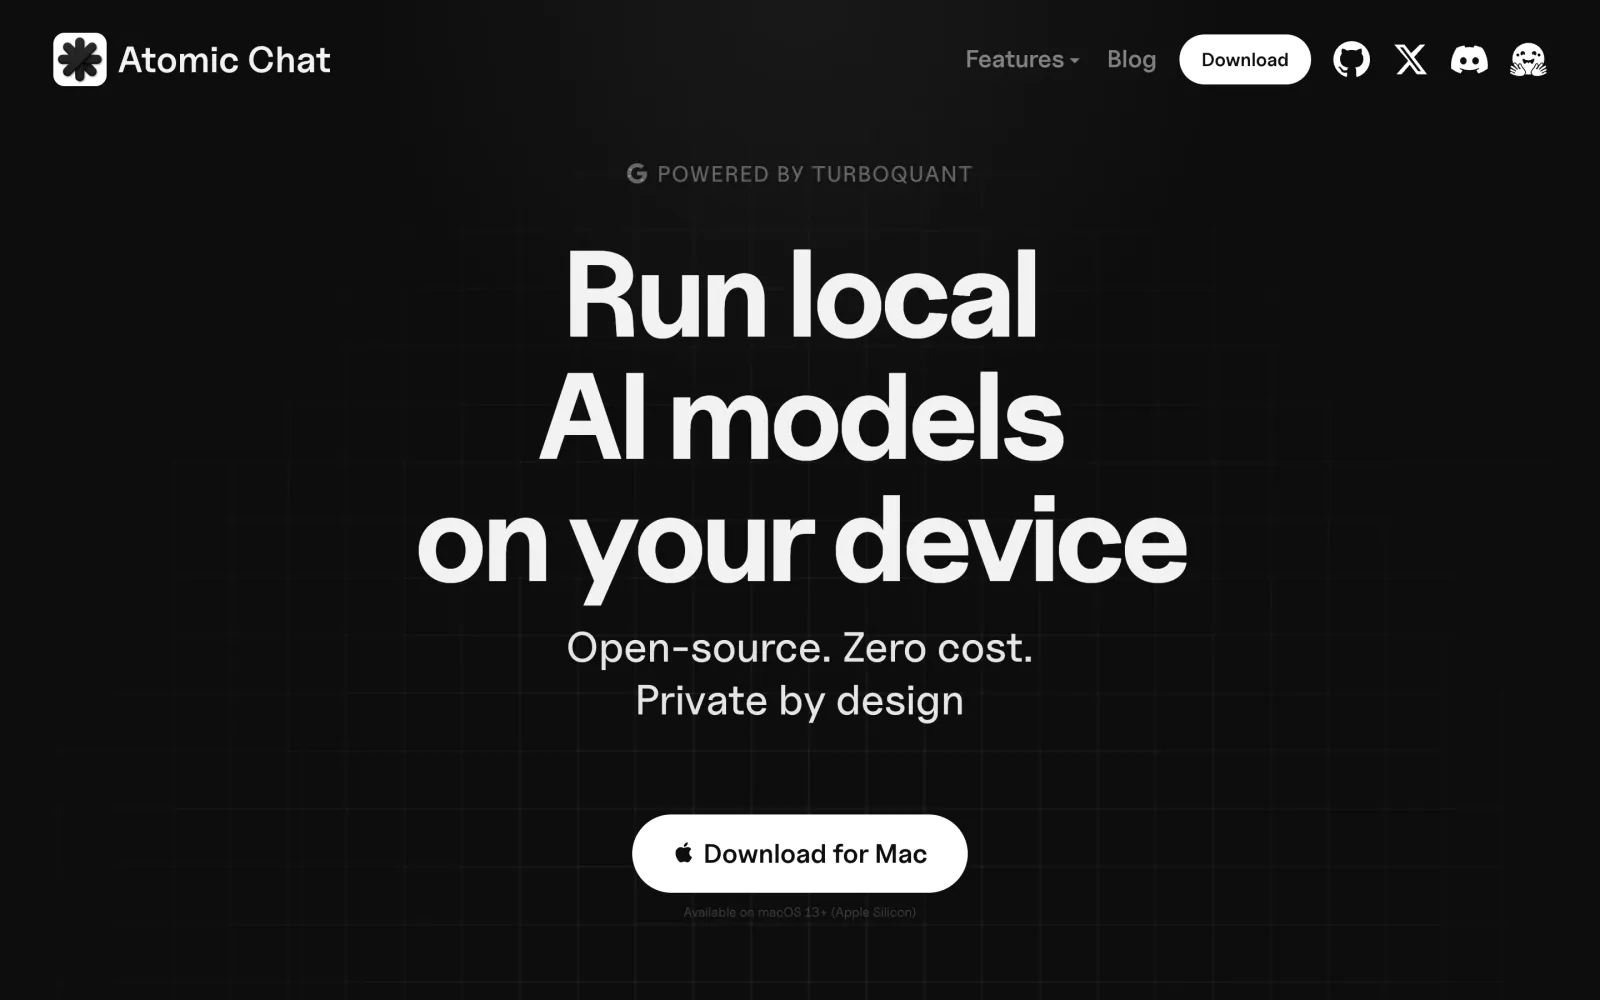
Atomic Chat is a local AI app that runs models from Hugging Face locally on your device, using a customized llama.cpp engine.
When you use a local AI app like Atomic Chat, the entire model weights are downloaded on your system and inference happens on-device.
To get started, install the latest build from atomic.chat (or the GitHub releases page).
You can also download the Tauri app with this command:
git clone https://github.com/AtomicBot-ai/Atomic-Chat
cd Atomic-Chat
make dev
Download a model
On first launch Atomic Chat offers a set of recommended open-weight models that it downloads from Hugging Face, chosen based on compatibility with your system.
For example, for my machine, the recommended models were as follows:
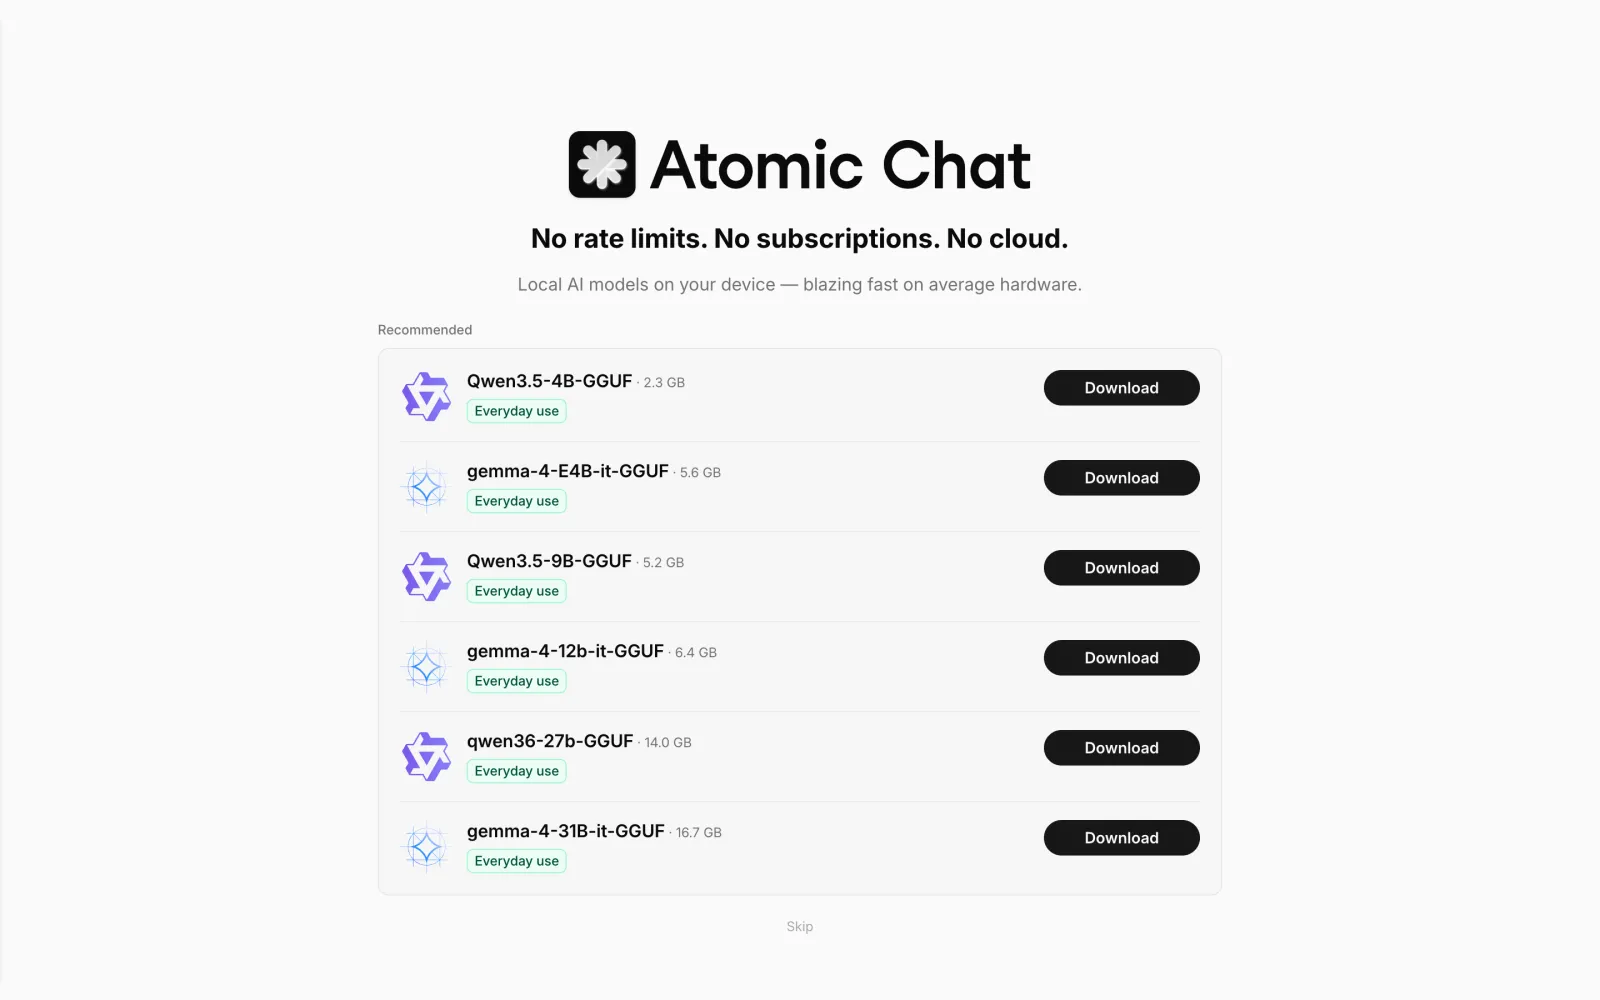
Choose a model, click Download, and wait for it to pull the GGUF weights from Hugging Face.
Once the download finishes you can open a chat with the model right in Atomic Chat to confirm that it installed correctly and that it works.
Atomic Chat has an offline ChatGPT-style client:
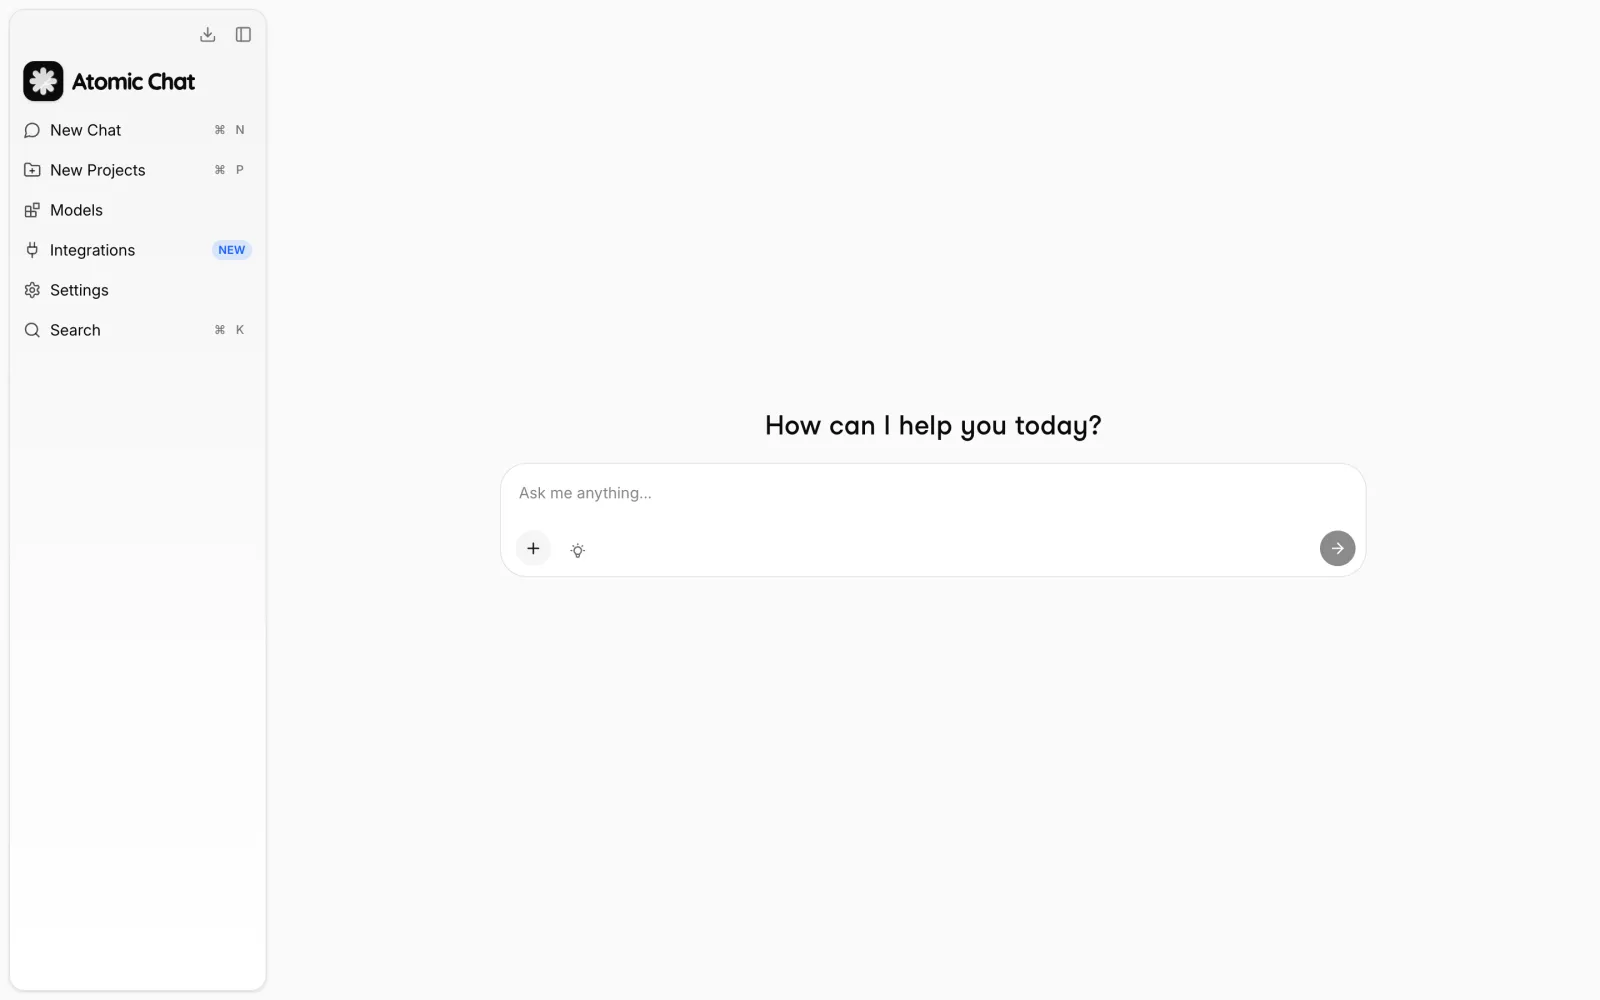
However, we'll be using Atomic Chat as a headless model provider to serve the model to OpenClaw locally instead.
Confirm the local API server
When a model is loaded, Atomic Chat exposes the model through an OpenAI-compatible server at:
http://localhost:1337/v1
Open the Integrations tab to see the local server and the agents that can connect to it. OpenClaw appears here in the assistants list.
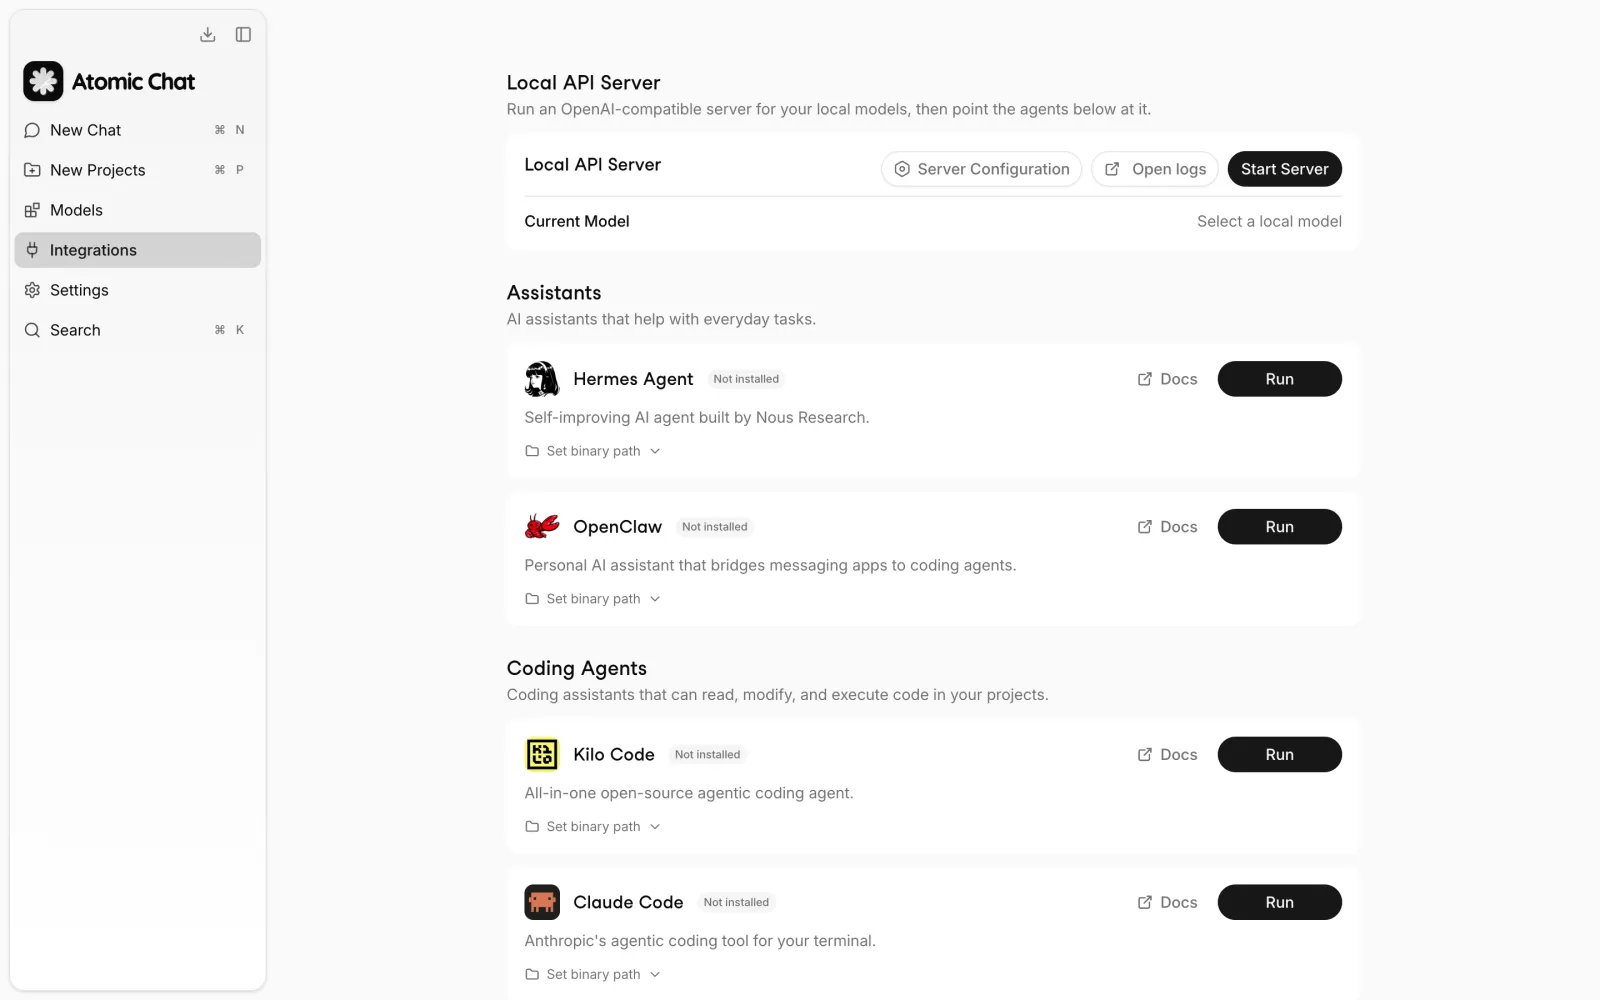

The server's address is configurable, but its defaults are already pre-configured to use with OpenClaw.
The three values you'll point OpenClaw at are Host 127.0.0.1, Port 1337, and API Prefix /v1.
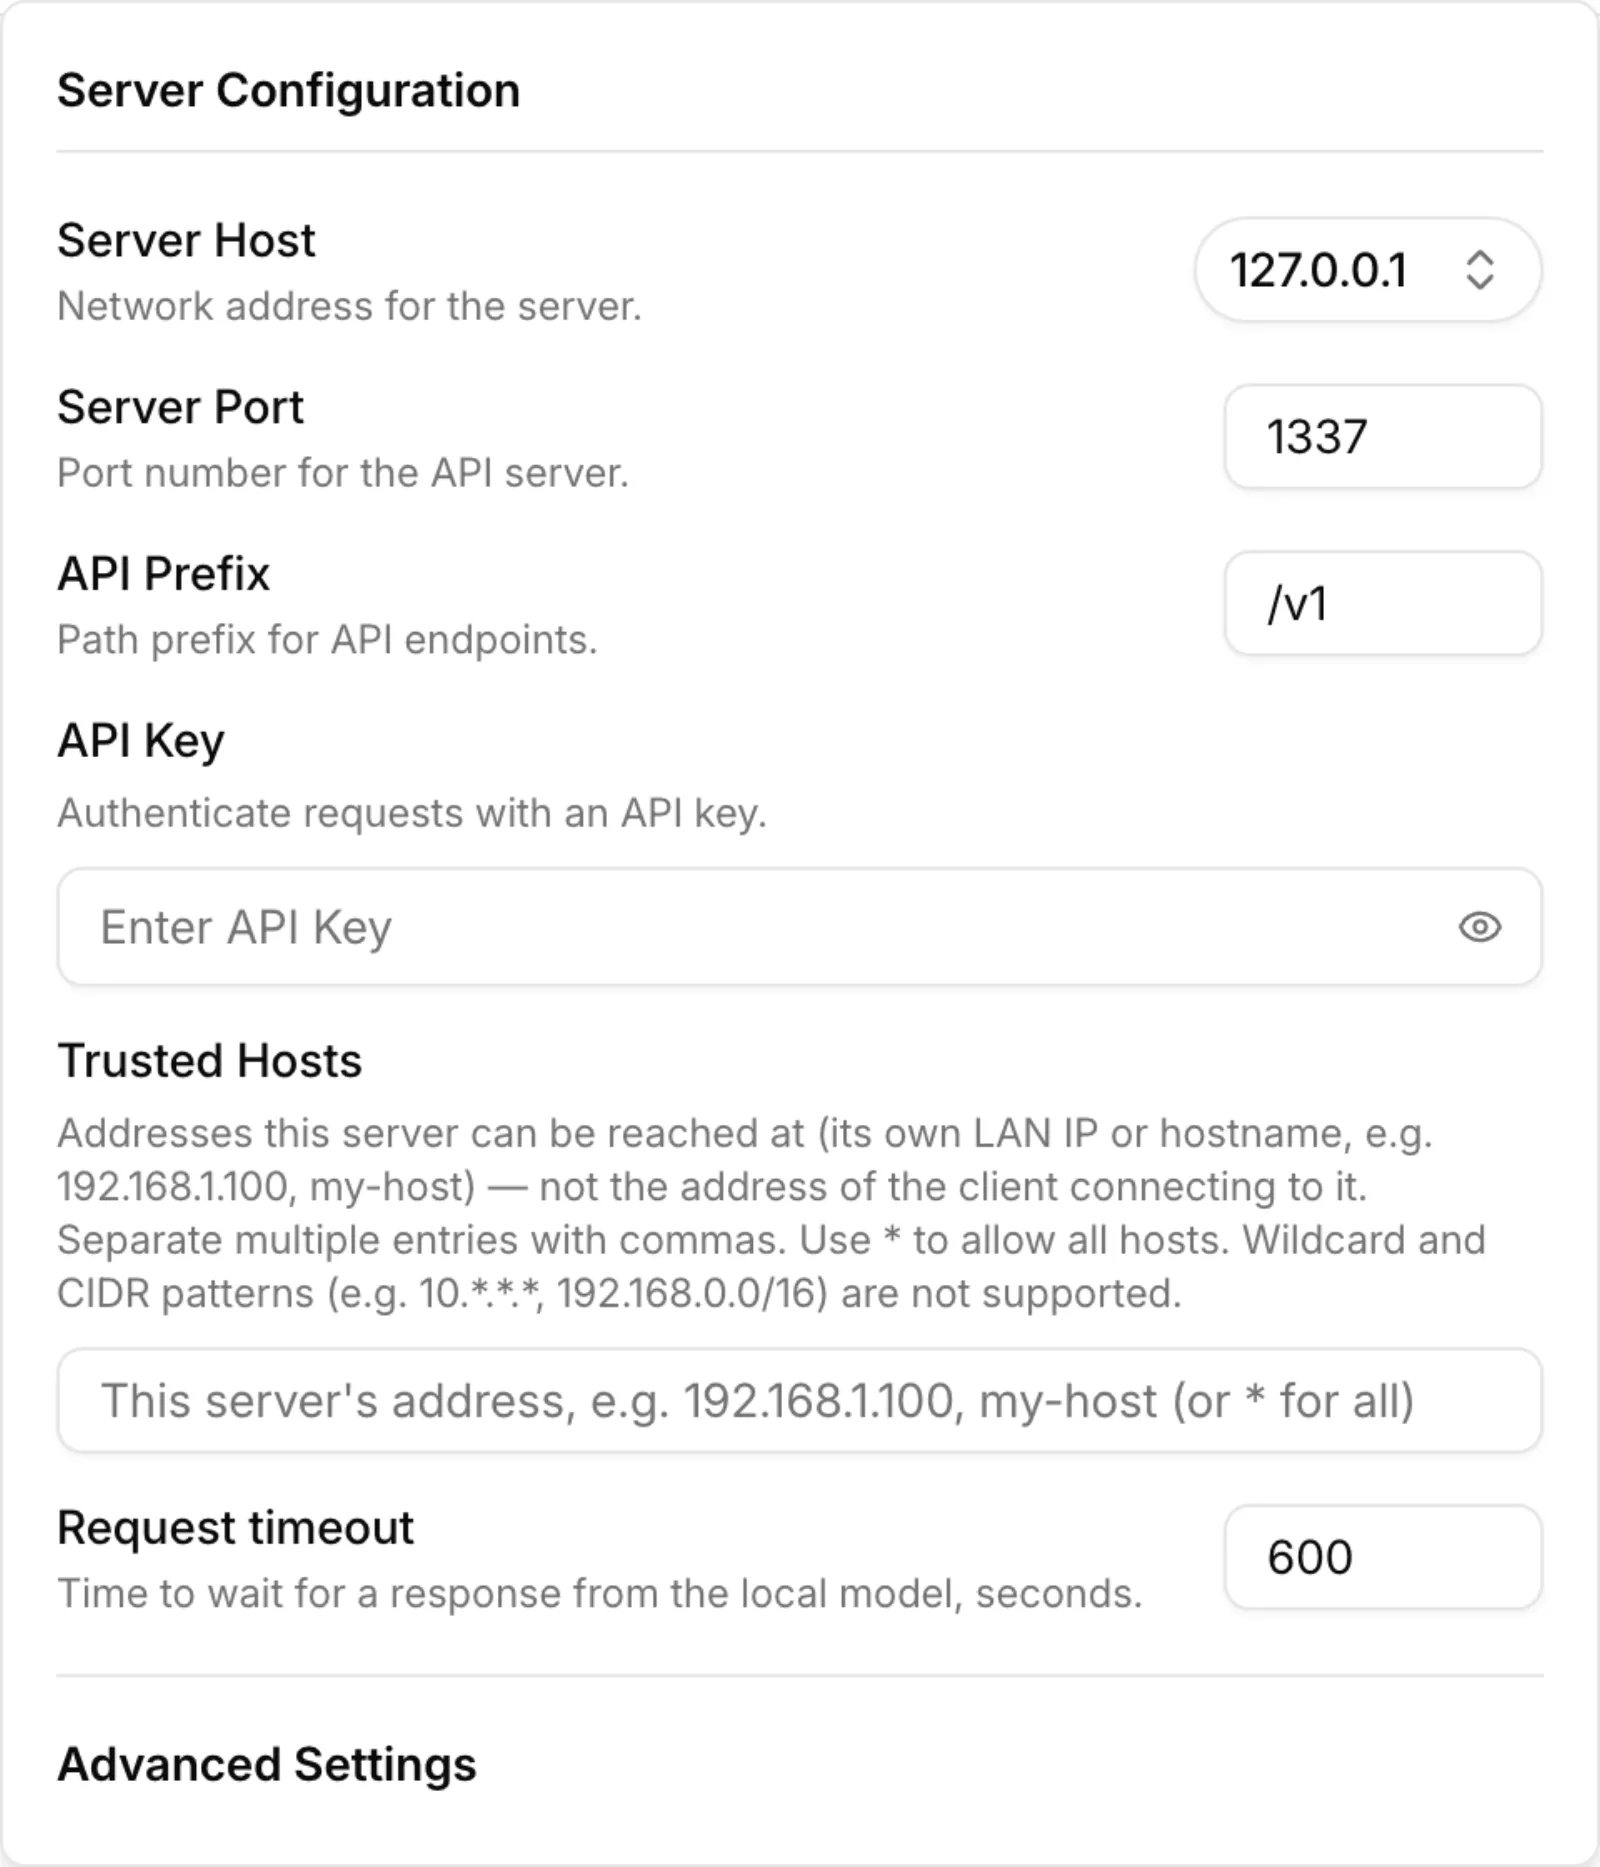
Leave Atomic Chat running with the model loaded. Next, we'll install the OpenClaw agent and point it at this local server.
2. Install and set up OpenClaw
With the local model server ready, the next step is to install the OpenClaw agent itself.
Install OpenClaw
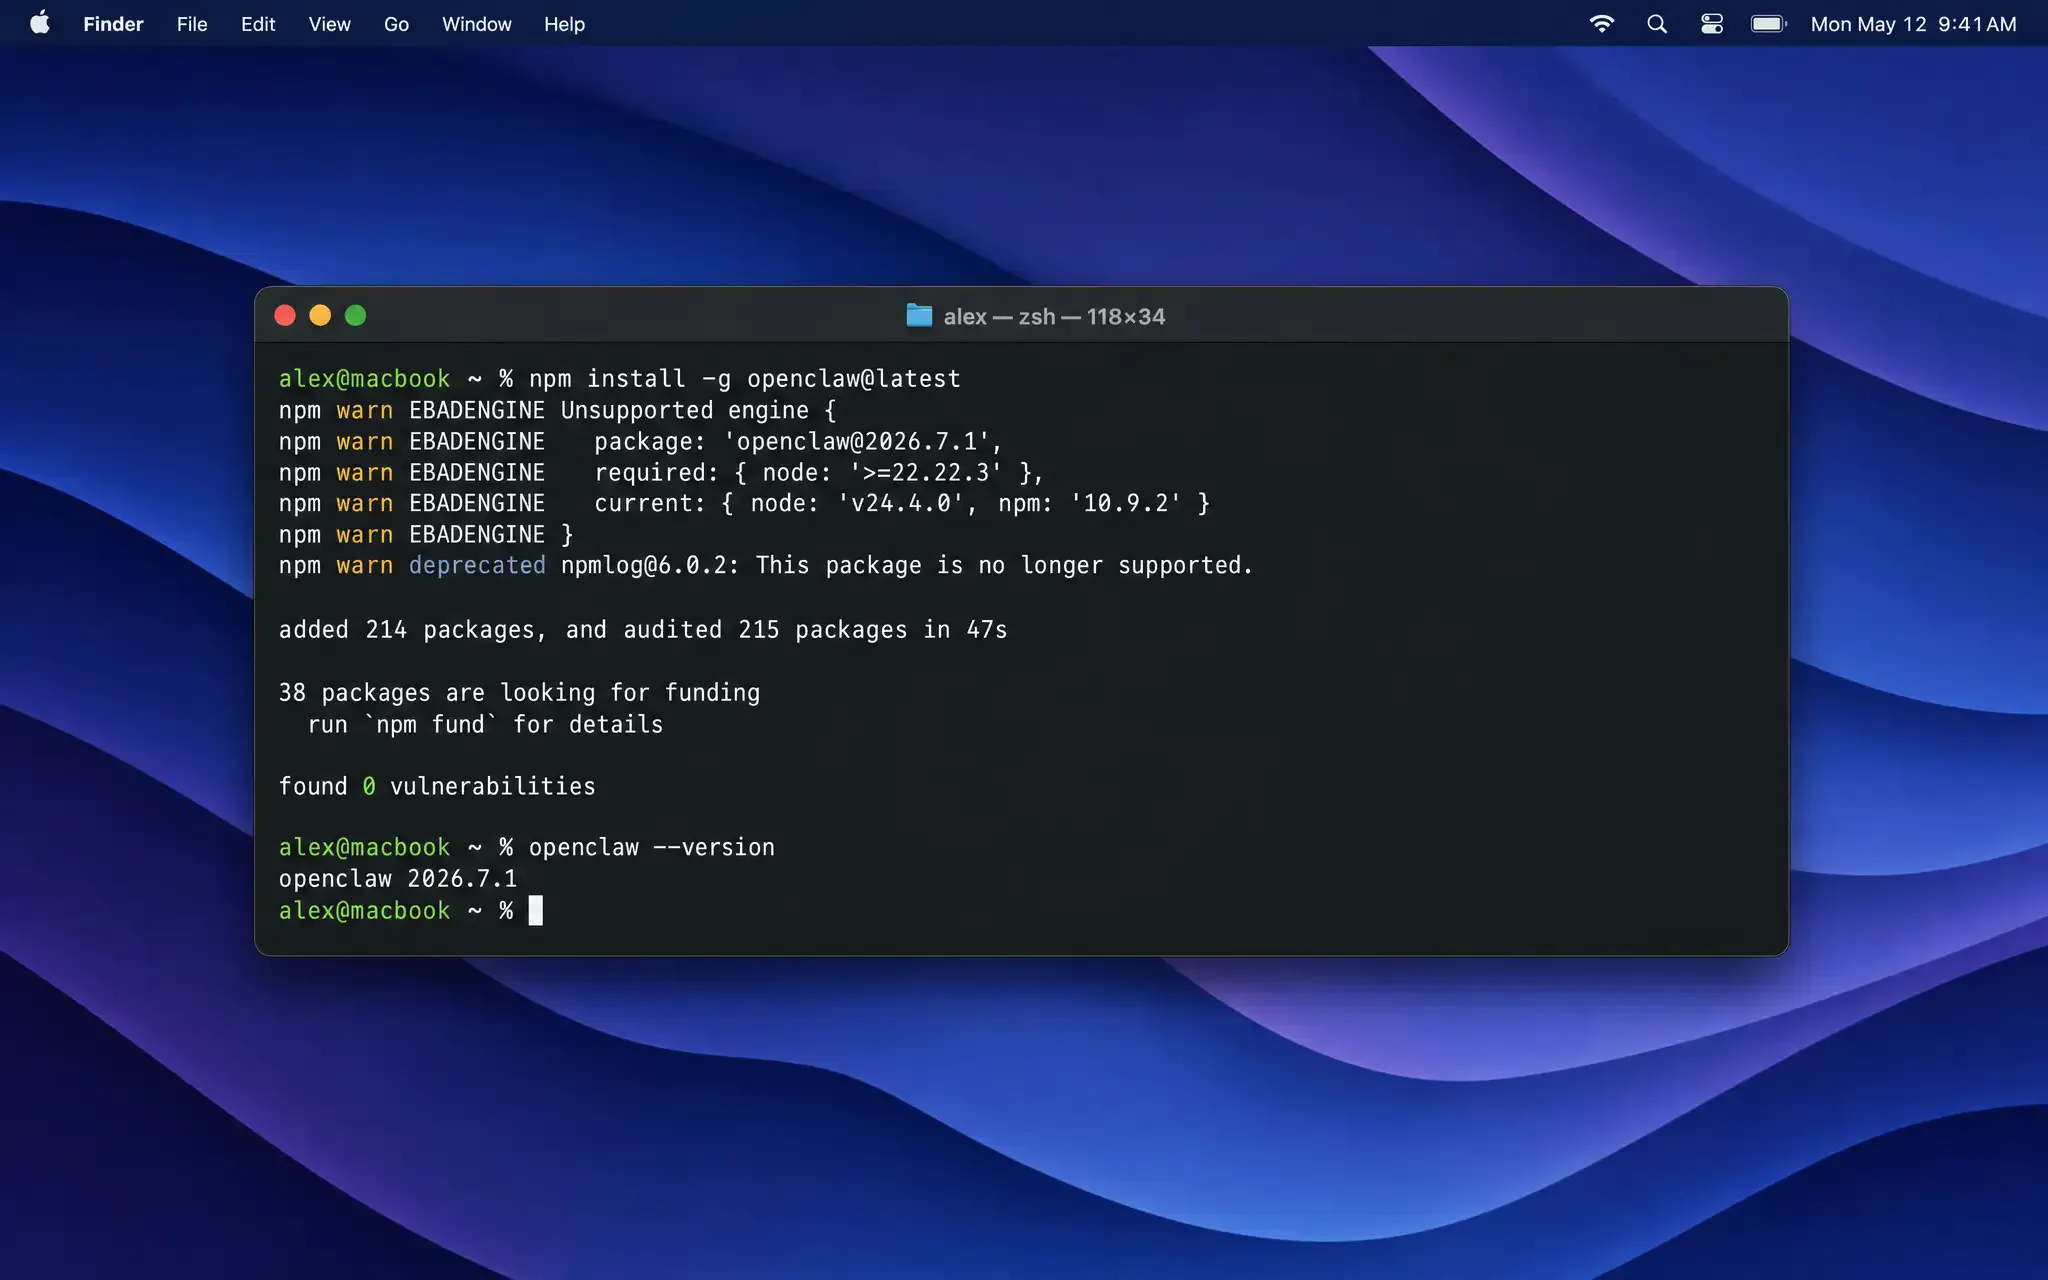
OpenClaw installs globally via npm:
npm install -g openclaw@latest
It requires a recent Node (22.22.3+ / 24.15+ recommended).
Onboard
Run the interactive setup. The --install-daemon flag installs the gateway as a background service so it starts on boot:
openclaw onboard --install-daemon
Follow the instructions in the OpenClaw installation wizard. It sets up the basics for you:
- Naming your agent
- Creating the workspace at
~/.openclaw - Installing the background daemon (with
--install-daemon)
You don't have to wire up Atomic Chat during the wizard — we'll point OpenClaw at it directly in the config in the next step.
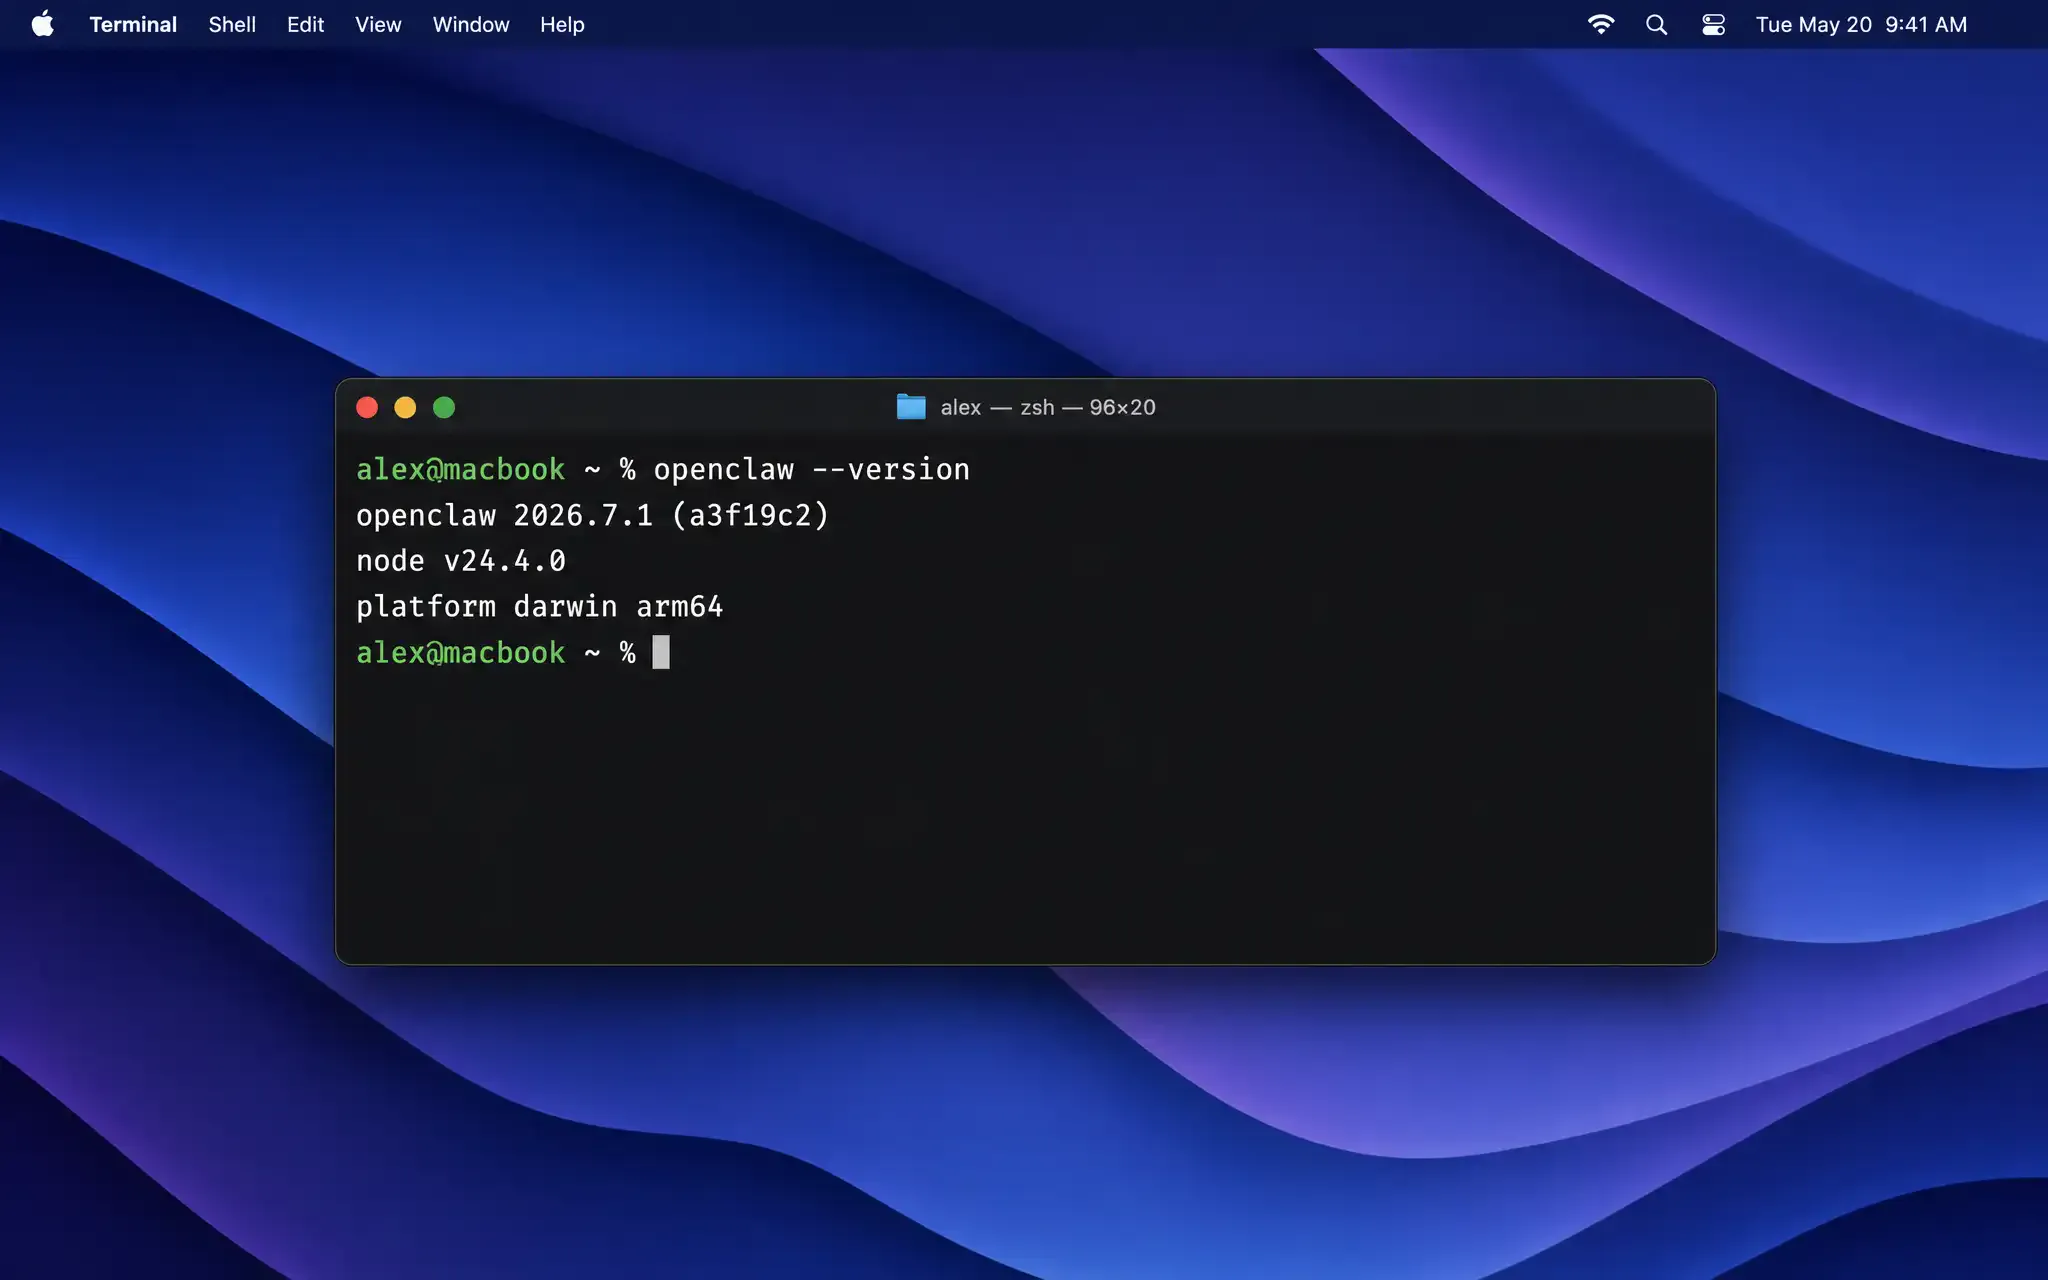
Verify the install landed:
openclaw --version
3. Connect OpenClaw to Atomic Chat's local model
OpenClaw treats Atomic Chat like any other OpenAI-compatible backend, so all you need to do to connect them is to register a model provider whose baseUrl is Atomic Chat's local endpoint.
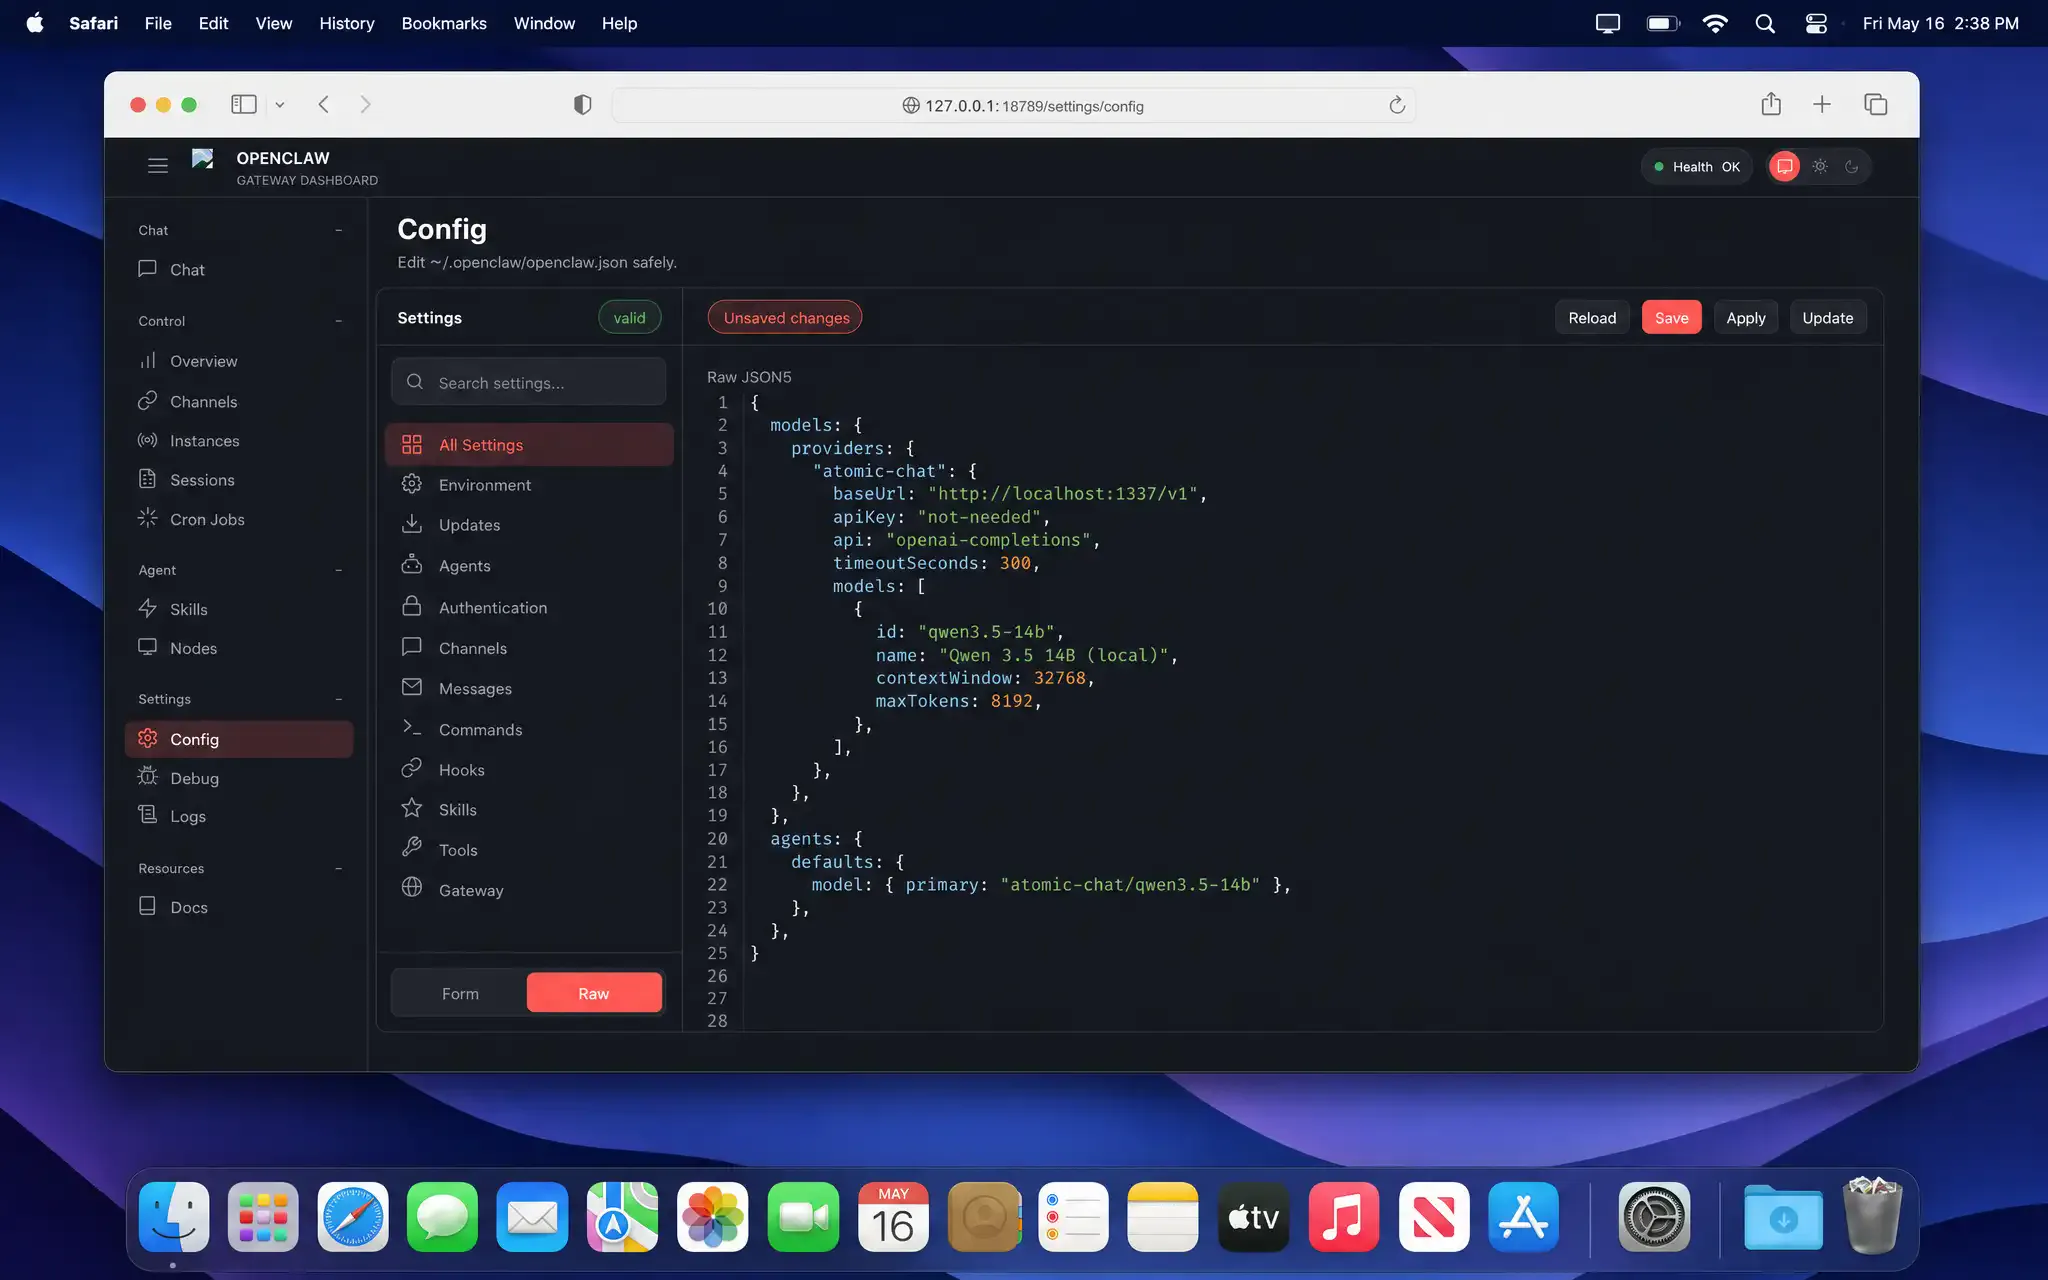
To connect Atomic Chat to your OpenClaw, open your OpenClaw config at ~/.openclaw/openclaw.json and add a provider under models.providers. The shape follows OpenClaw's model-providers documentation:
{
  models: {
    providers: {
      "atomic-chat": {
        baseUrl: "http://localhost:1337/v1",
        apiKey: "not-needed",
        api: "openai-completions",
        timeoutSeconds: 300,
        models: [
          {
            id: "qwen3.5-14b",
            name: "Qwen 3.5 14B (local)",
            input: ["text"],
            cost: { input: 0, output: 0, cacheRead: 0, cacheWrite: 0 },
            contextWindow: 32768,
            maxTokens: 8192,
          },
        ],
      },
    },
  },
  agents: {
    defaults: {
      model: { primary: "atomic-chat/qwen3.5-14b" },
    },
  },
}baseUrlmust include the/v1suffix —http://localhost:1337/v1, matches Atomic Chat's server config from step 1.api: "openai-completions"tells OpenClaw to talk the standard/v1/chat/completionsprotocol.apiKeycan be any placeholder — Atomic Chat doesn't require auth for local requests.
Set cost to zeros because local inference is free.
You can also edit this from OpenClaw's Control UI once the gateway is running (Config → raw JSON5).
4. Start the gateway
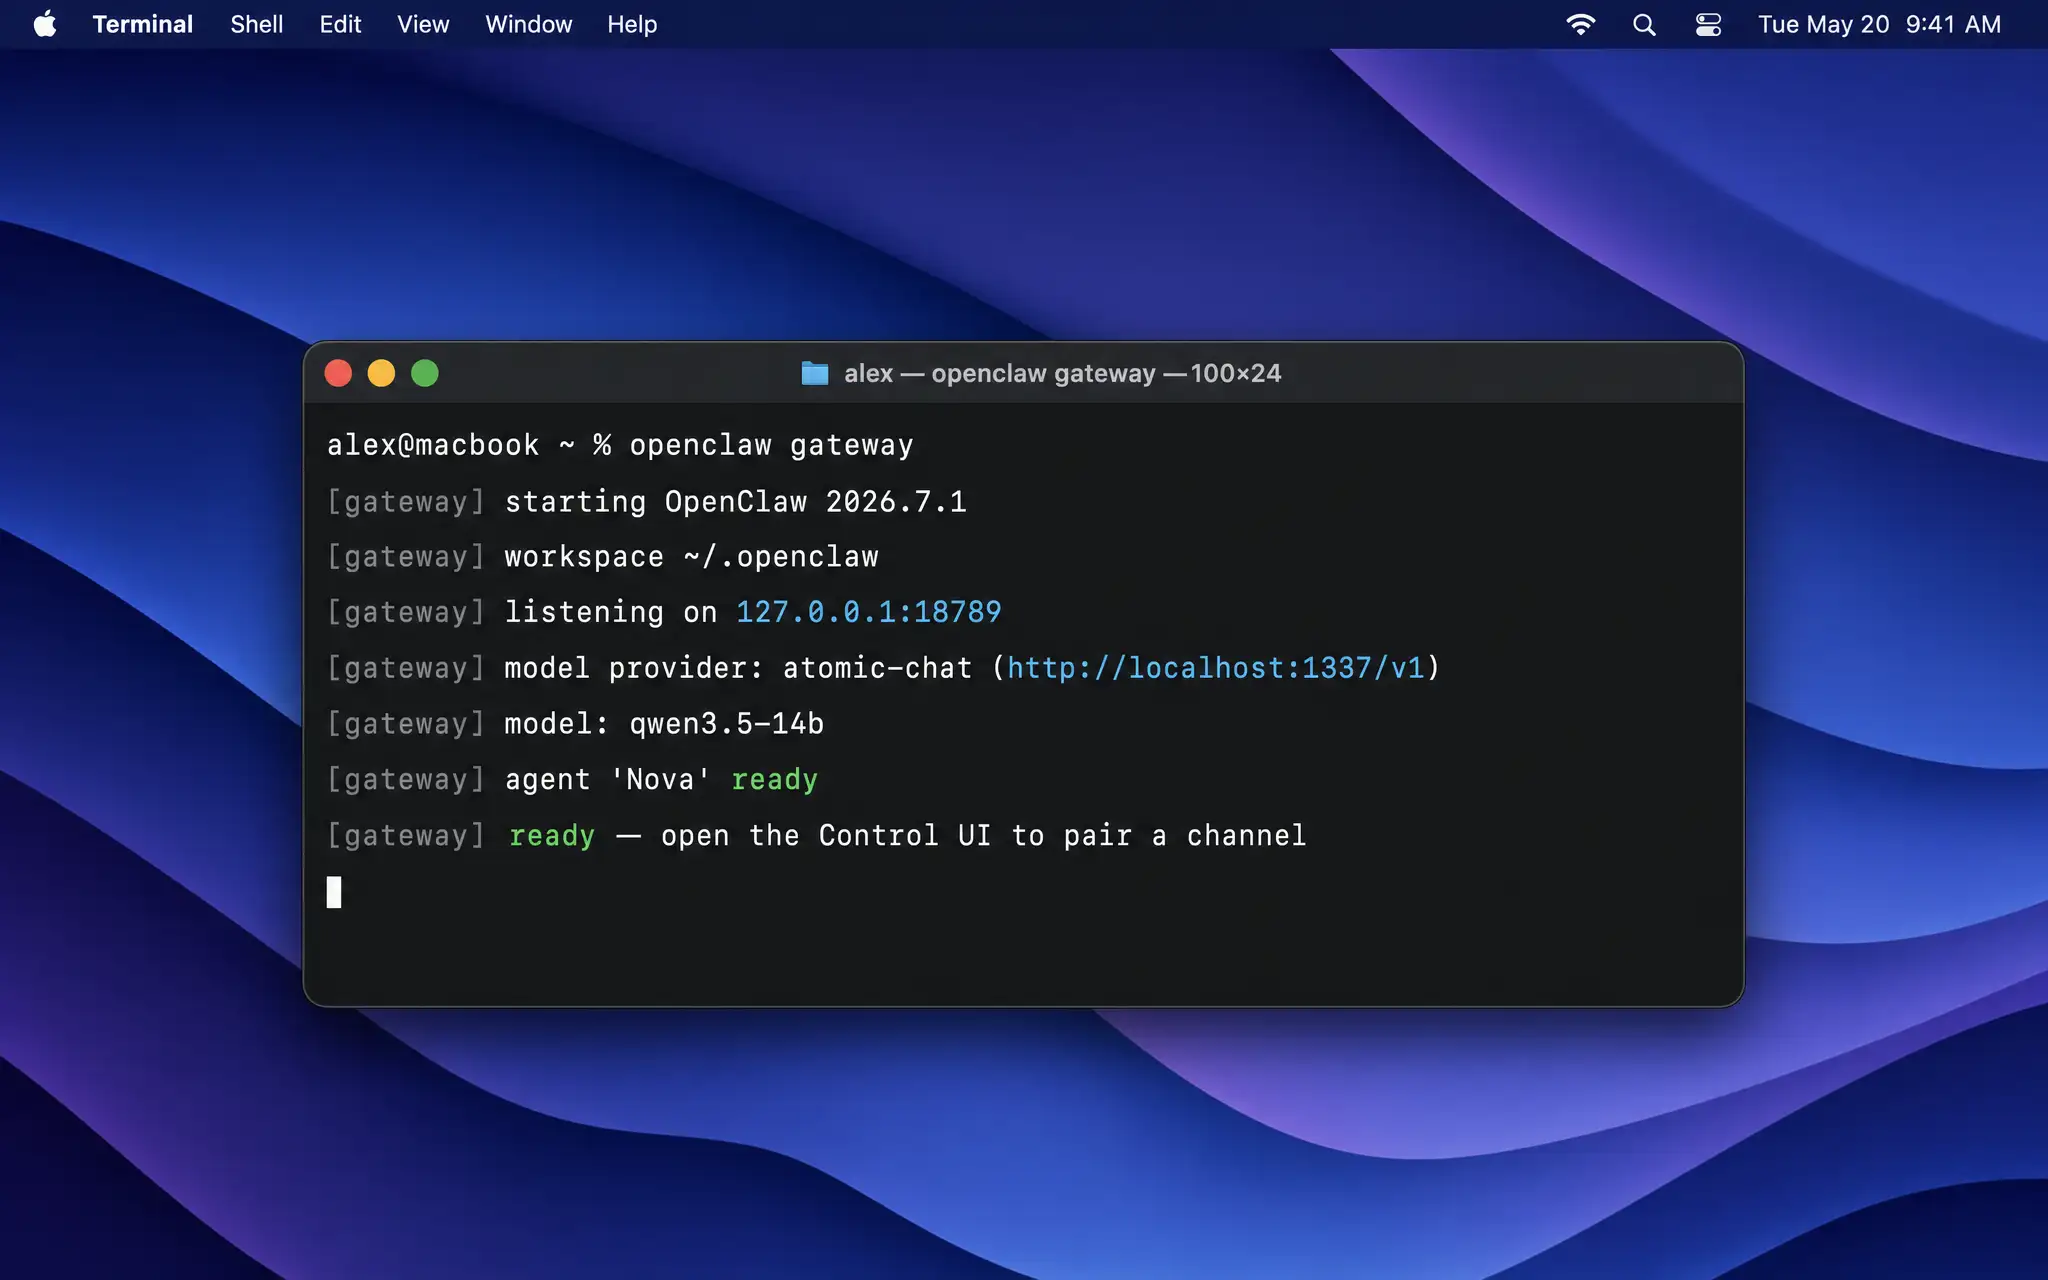
With the provider wired up, start OpenClaw's gateway. This process will host the agent and serve the web dashboard, on port 18789:
openclaw gateway --port 18789
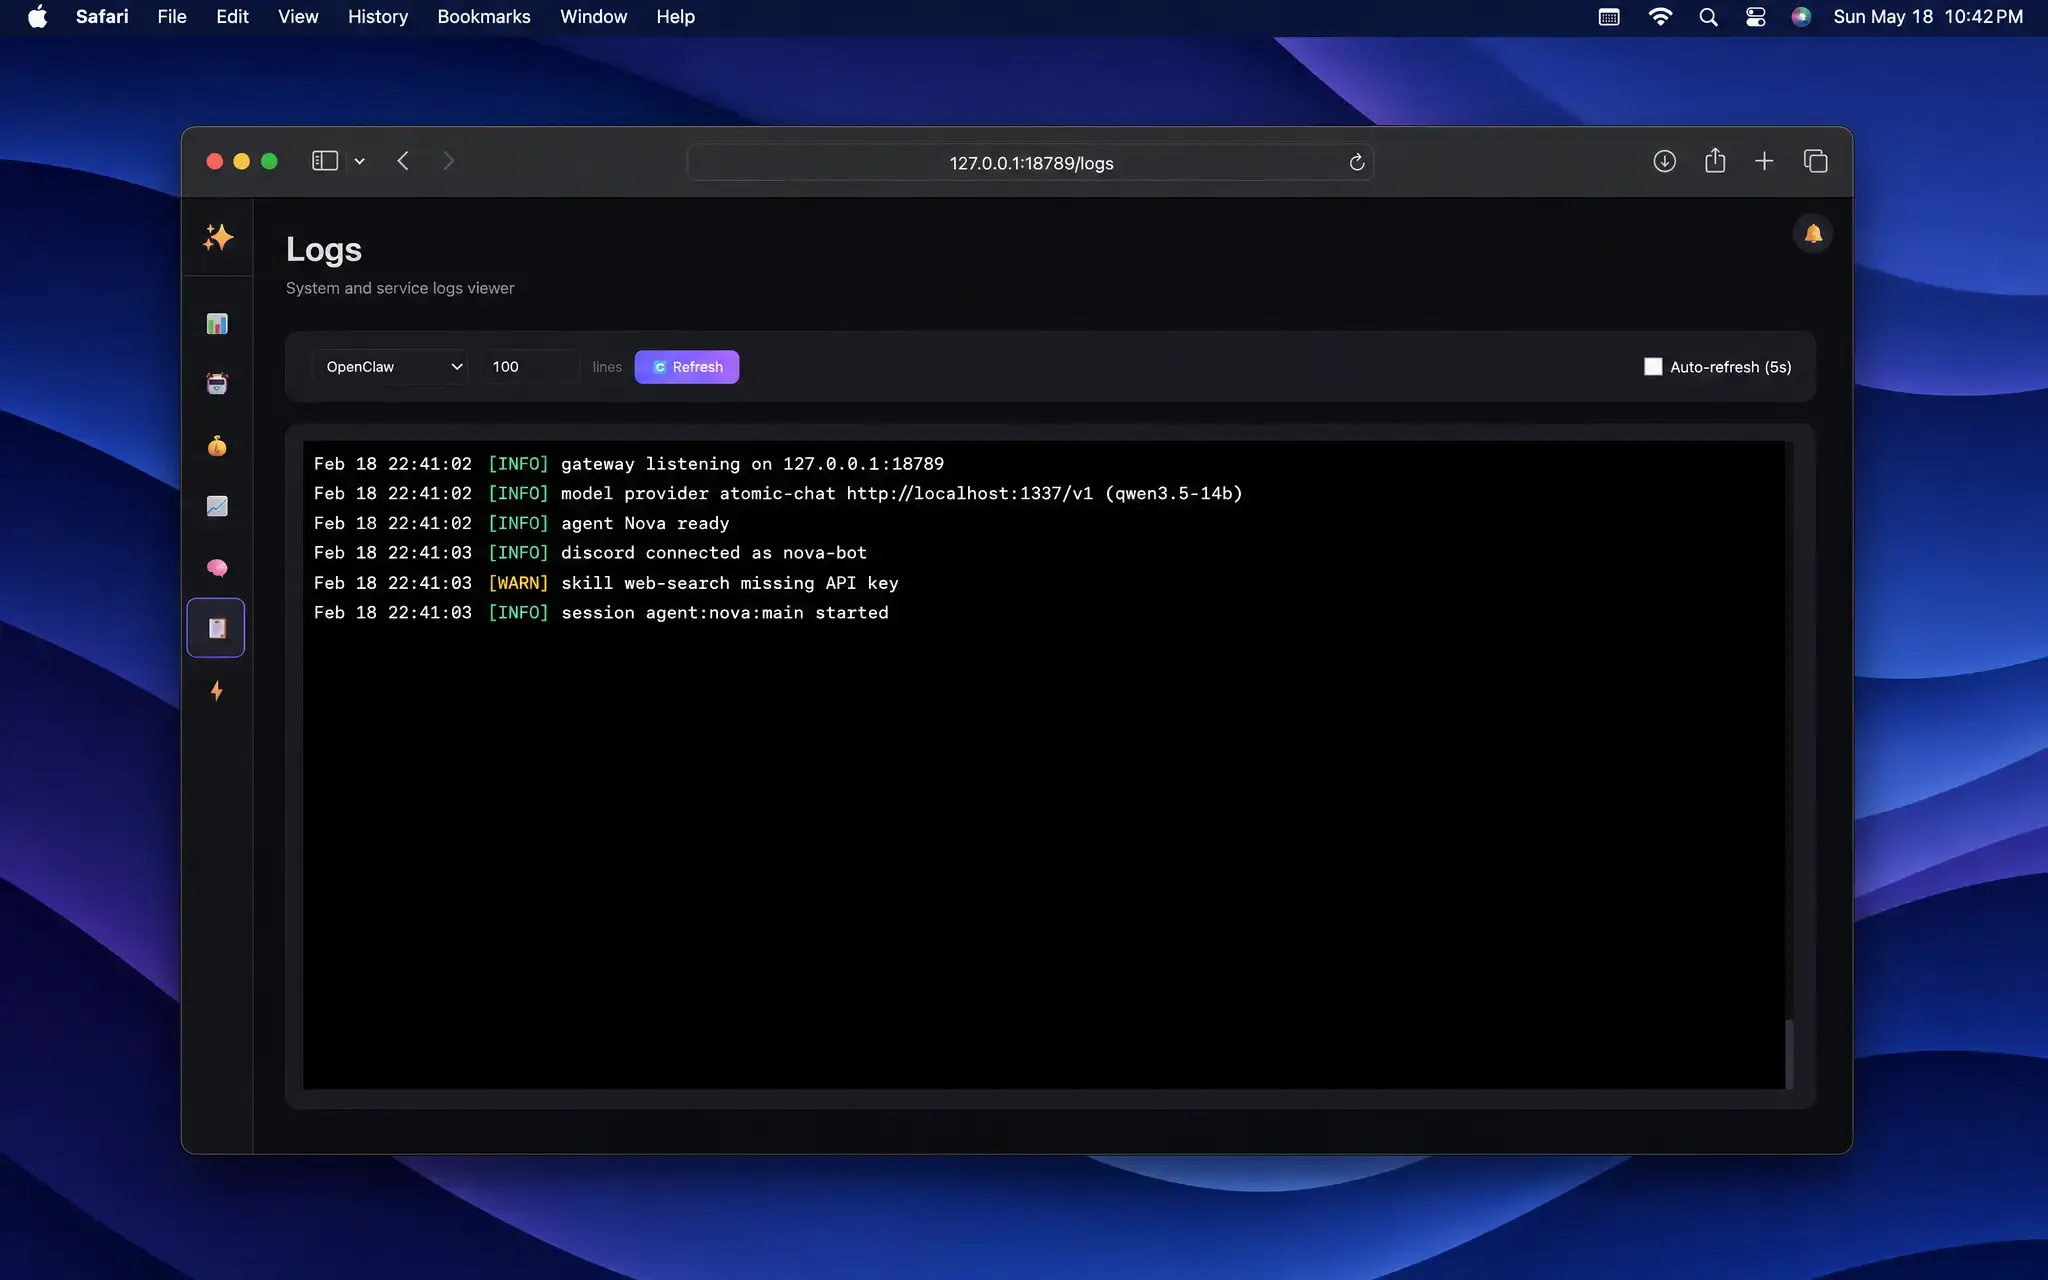
You'll see the boot log which shows the model provider (atomic-chat), the local endpoint (http://localhost:1337/v1), the model in use, and that the agent is ready.
If you installed the daemon during onboarding, this already runs in the background.
5. Connect a Discord channel (optional)
One of the main features of OpenClaw is that you can talk to it in your favorite messenger apps, like Slack, Telegram, Discord, and even WhatsApp if you wanted to be weird.
Let's see how to set up a chat with your locally running OpenClaw agent in Discord. First, run this command:
openclaw channels add
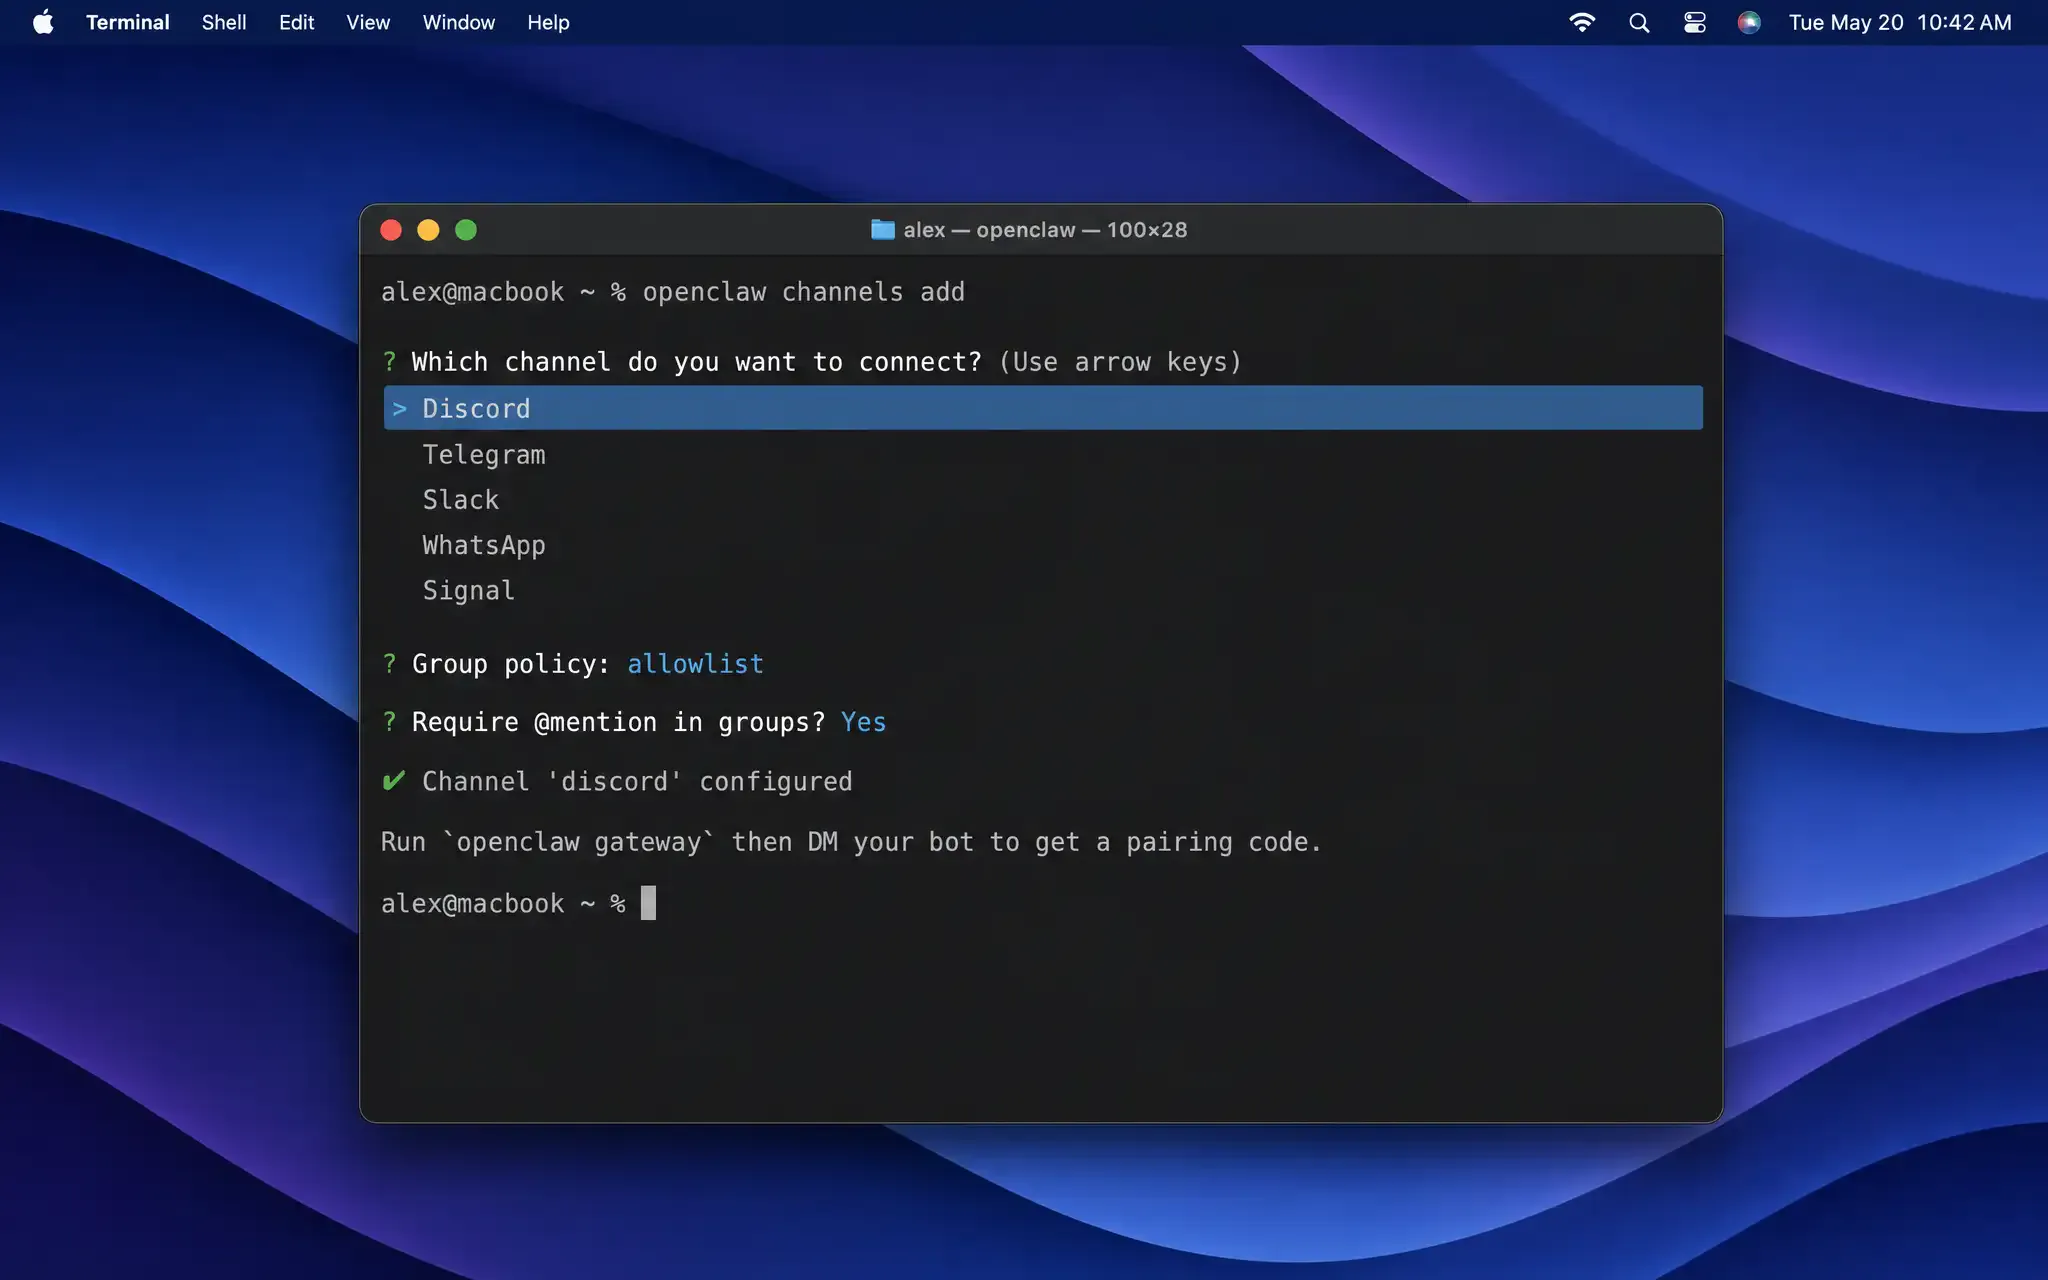
DM your bot in Discord. It replies with an 8-character pairing code (valid for one hour). This is OpenClaw's security handshake.
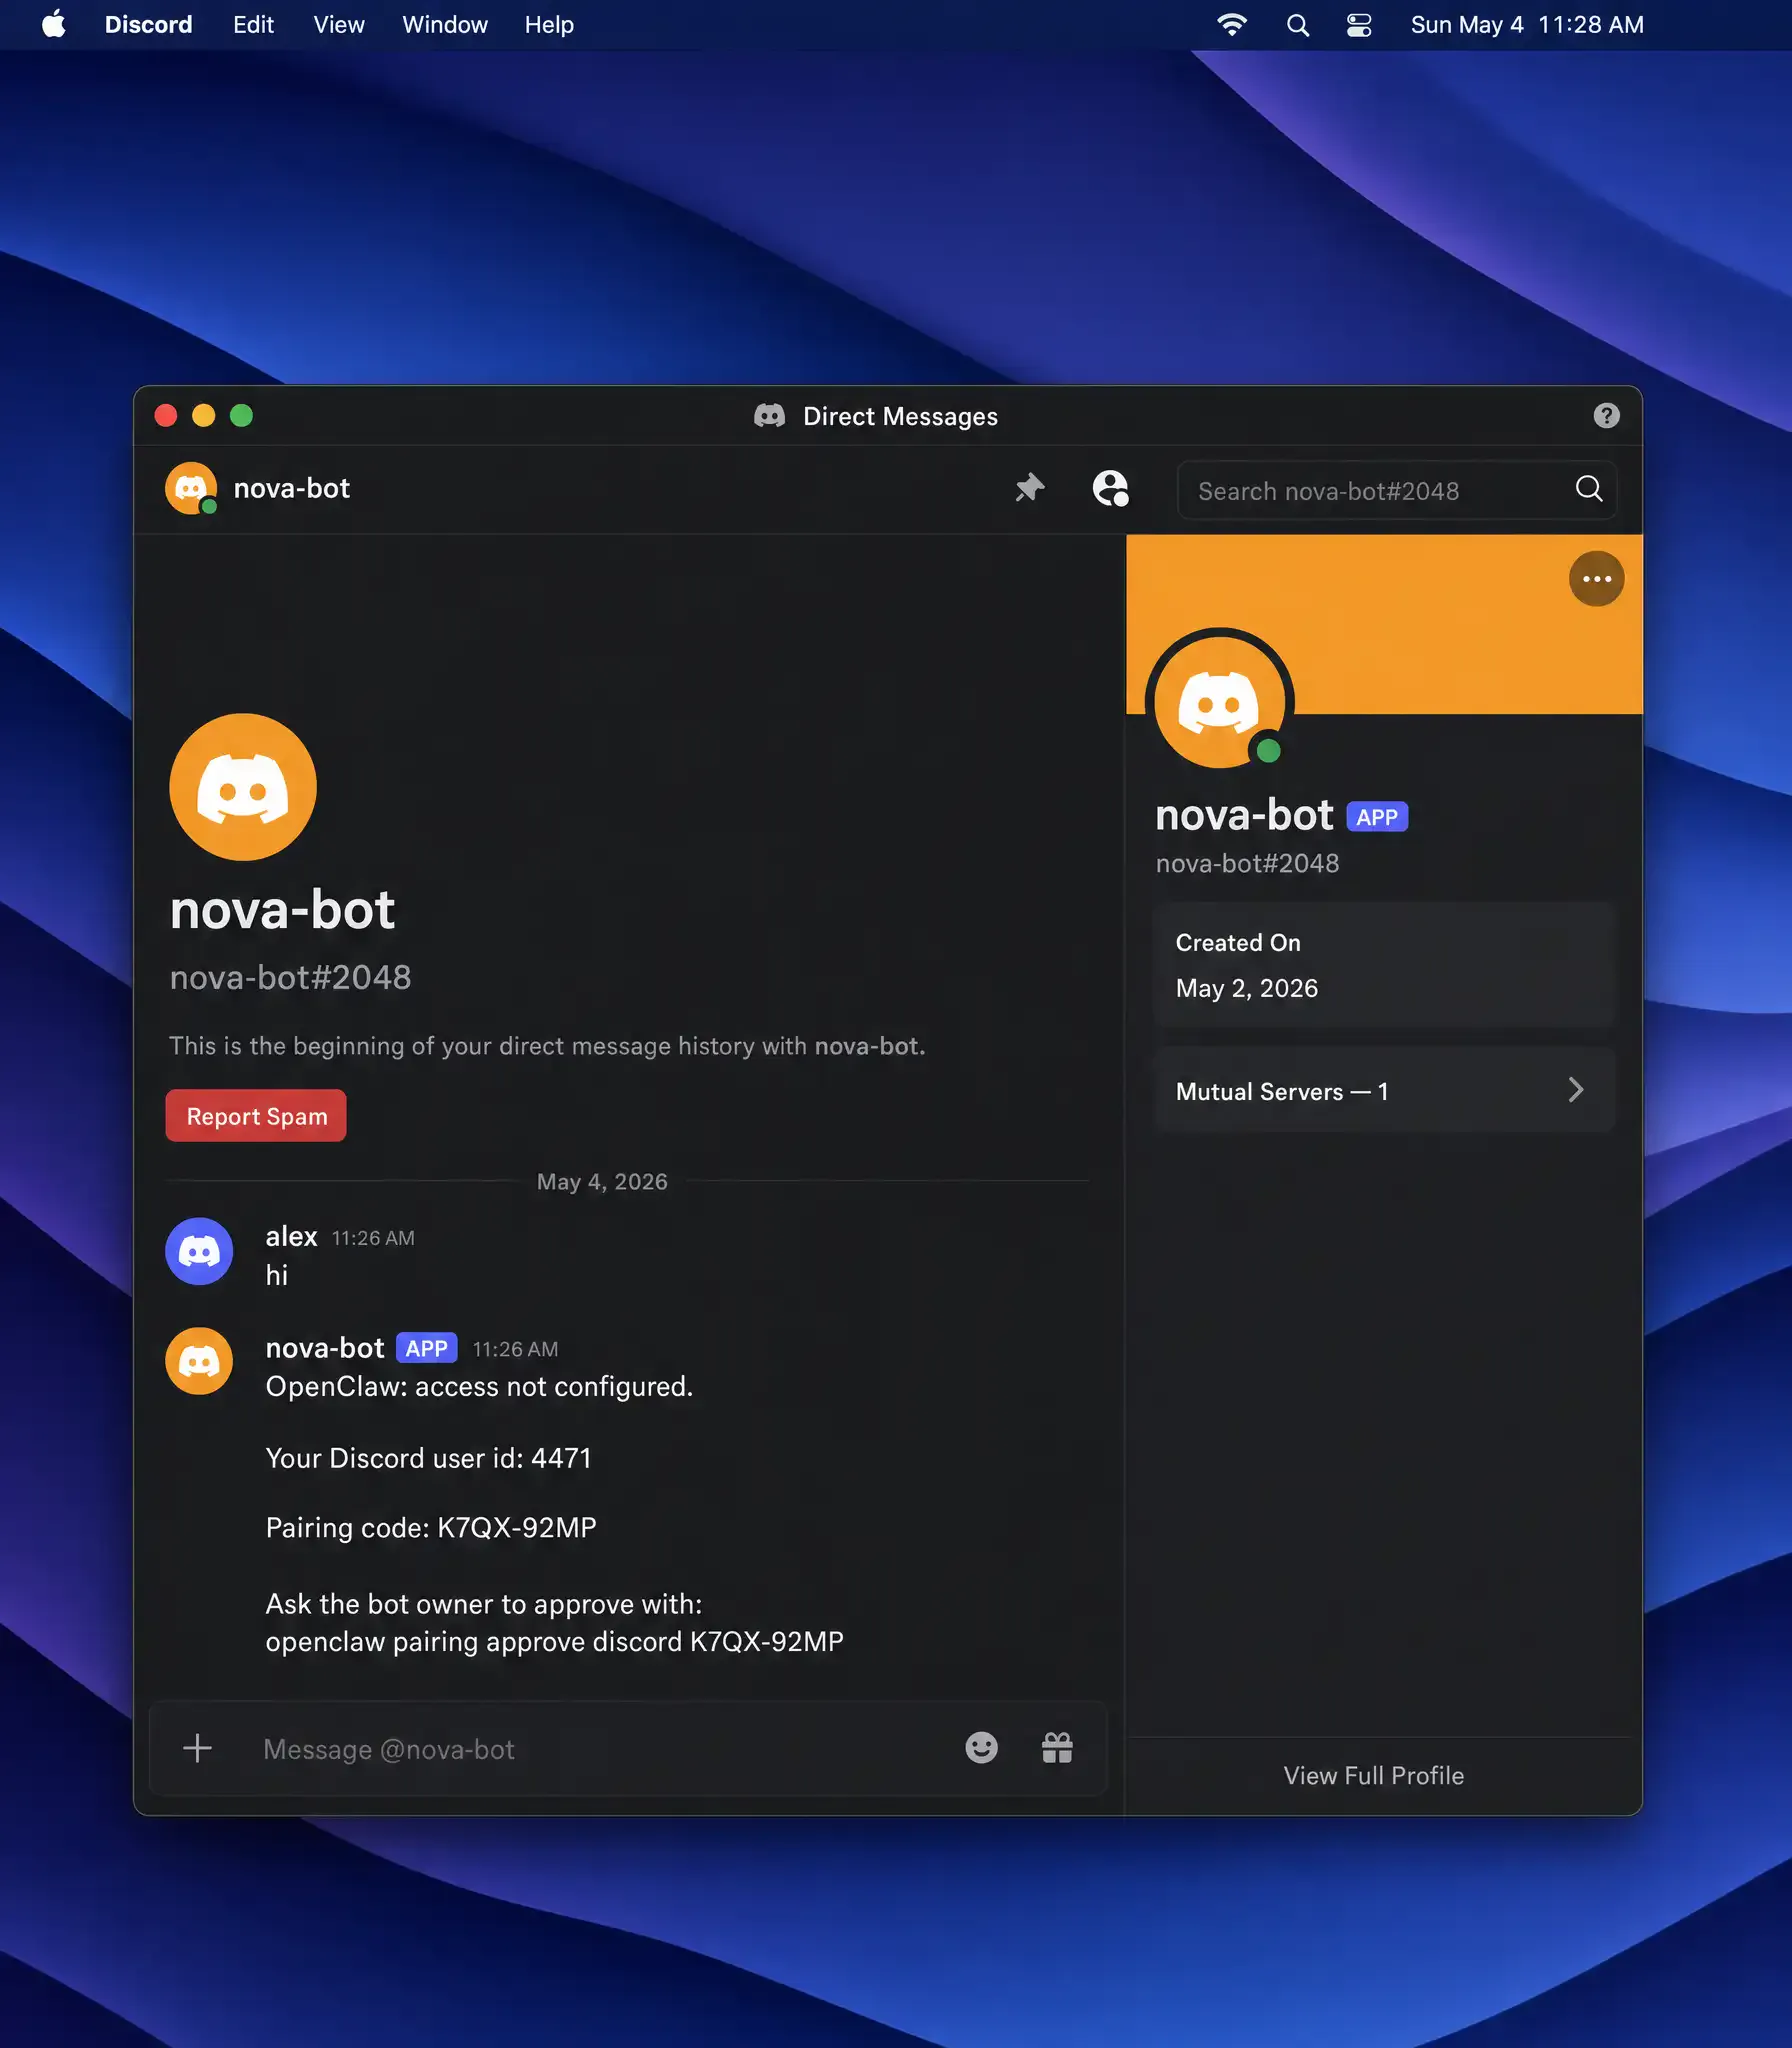
Approve it from your terminal:
openclaw pairing approve discord <CODE>
From now on, you message your local agent in Discord, and the agent is powered by the model running inside Atomic Chat.
6. Verify and use your local OpenClaw agent
With everything wired up, let's confirm the setup is healthy and take the agent for a spin.
Health check
Run openclaw doctor to check config, channel status, sessions, plugins, and more — a quick way to confirm the Atomic Chat link is live:
openclaw doctor
Add --fix to let it apply safe repairs.
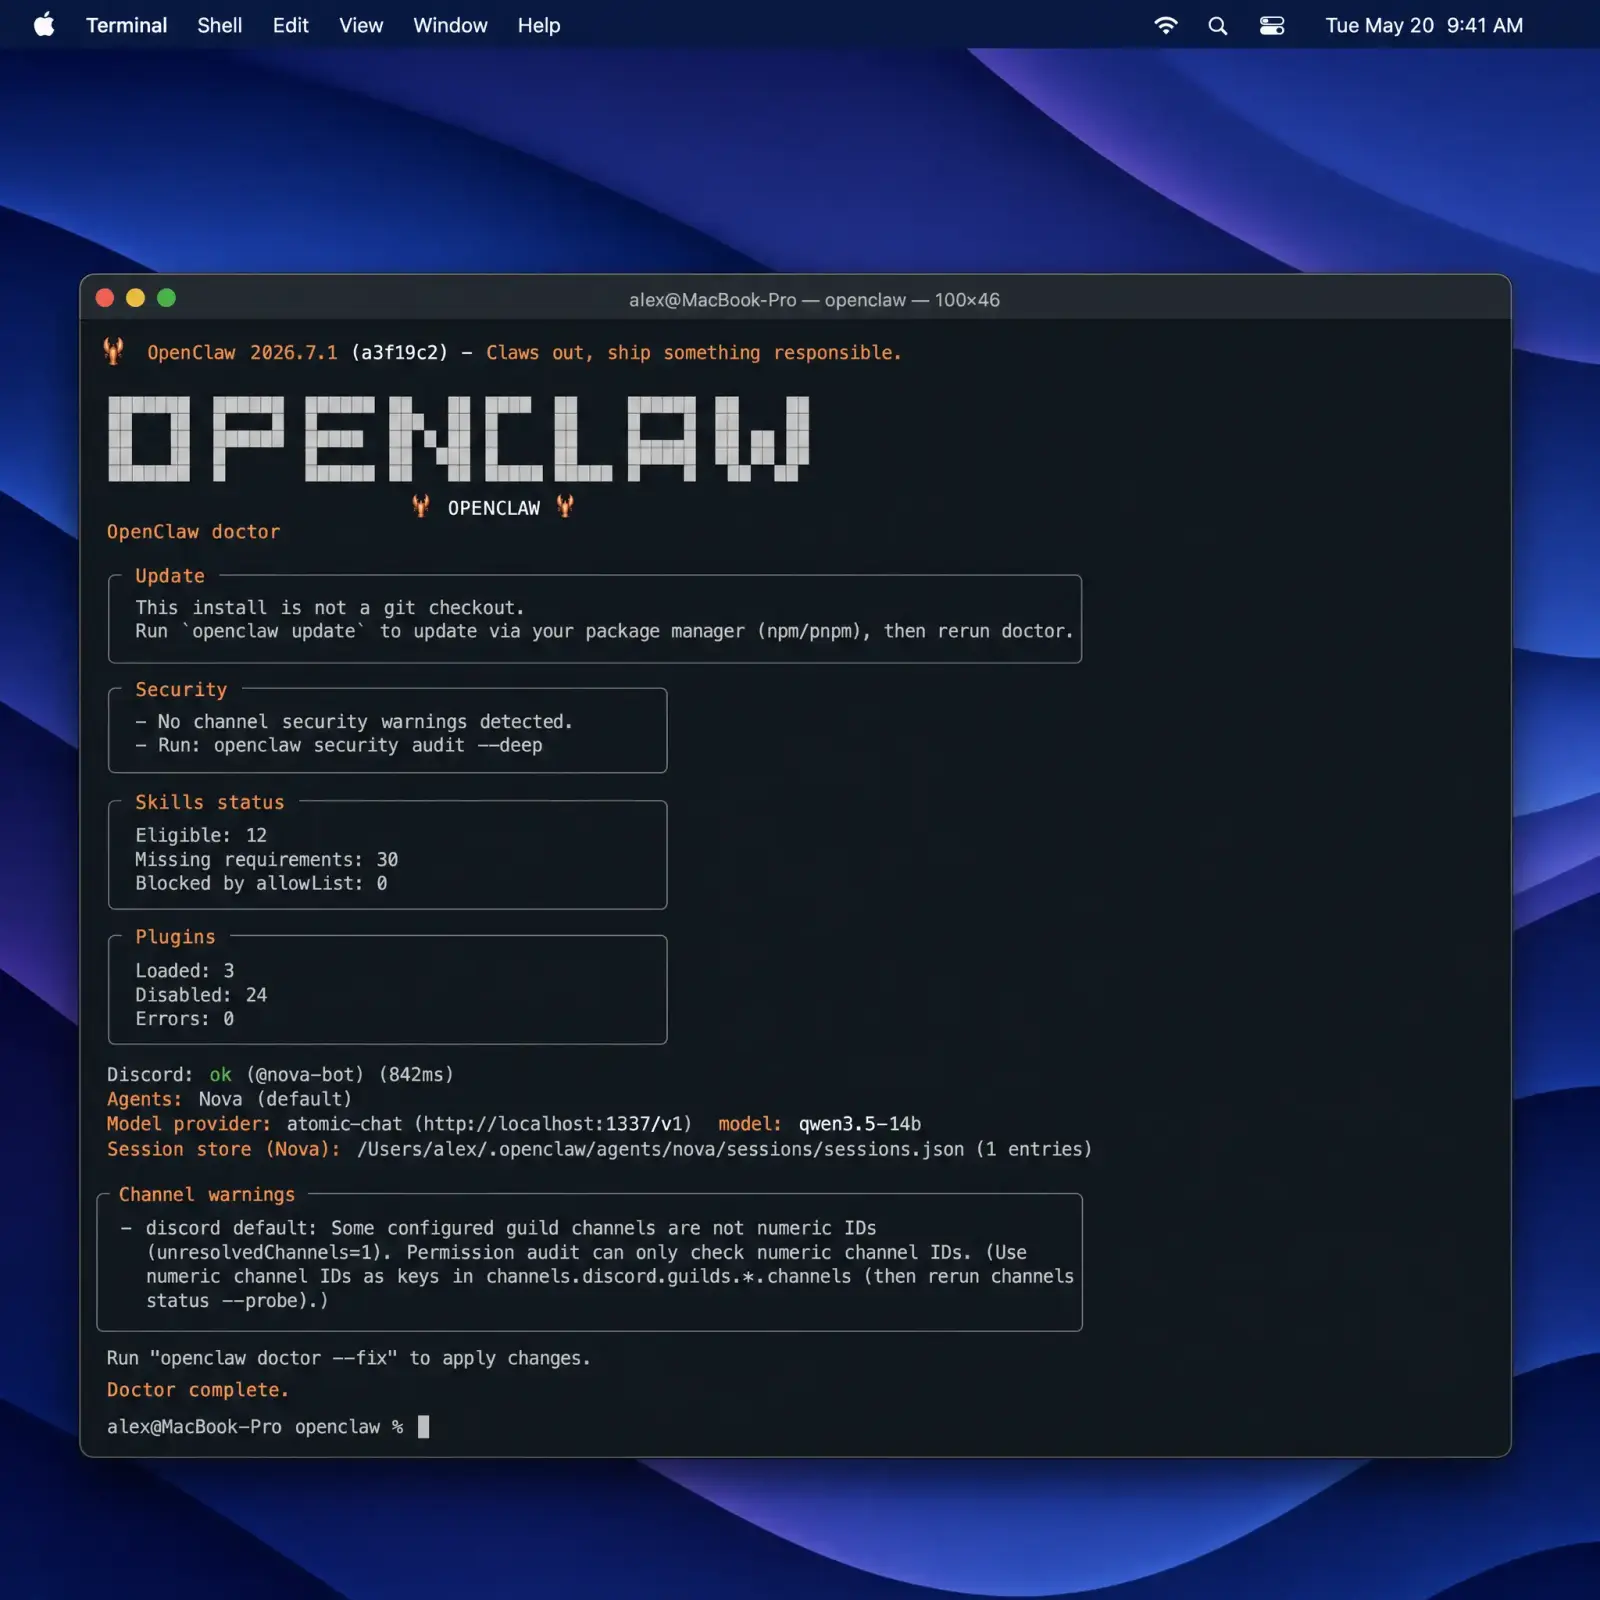
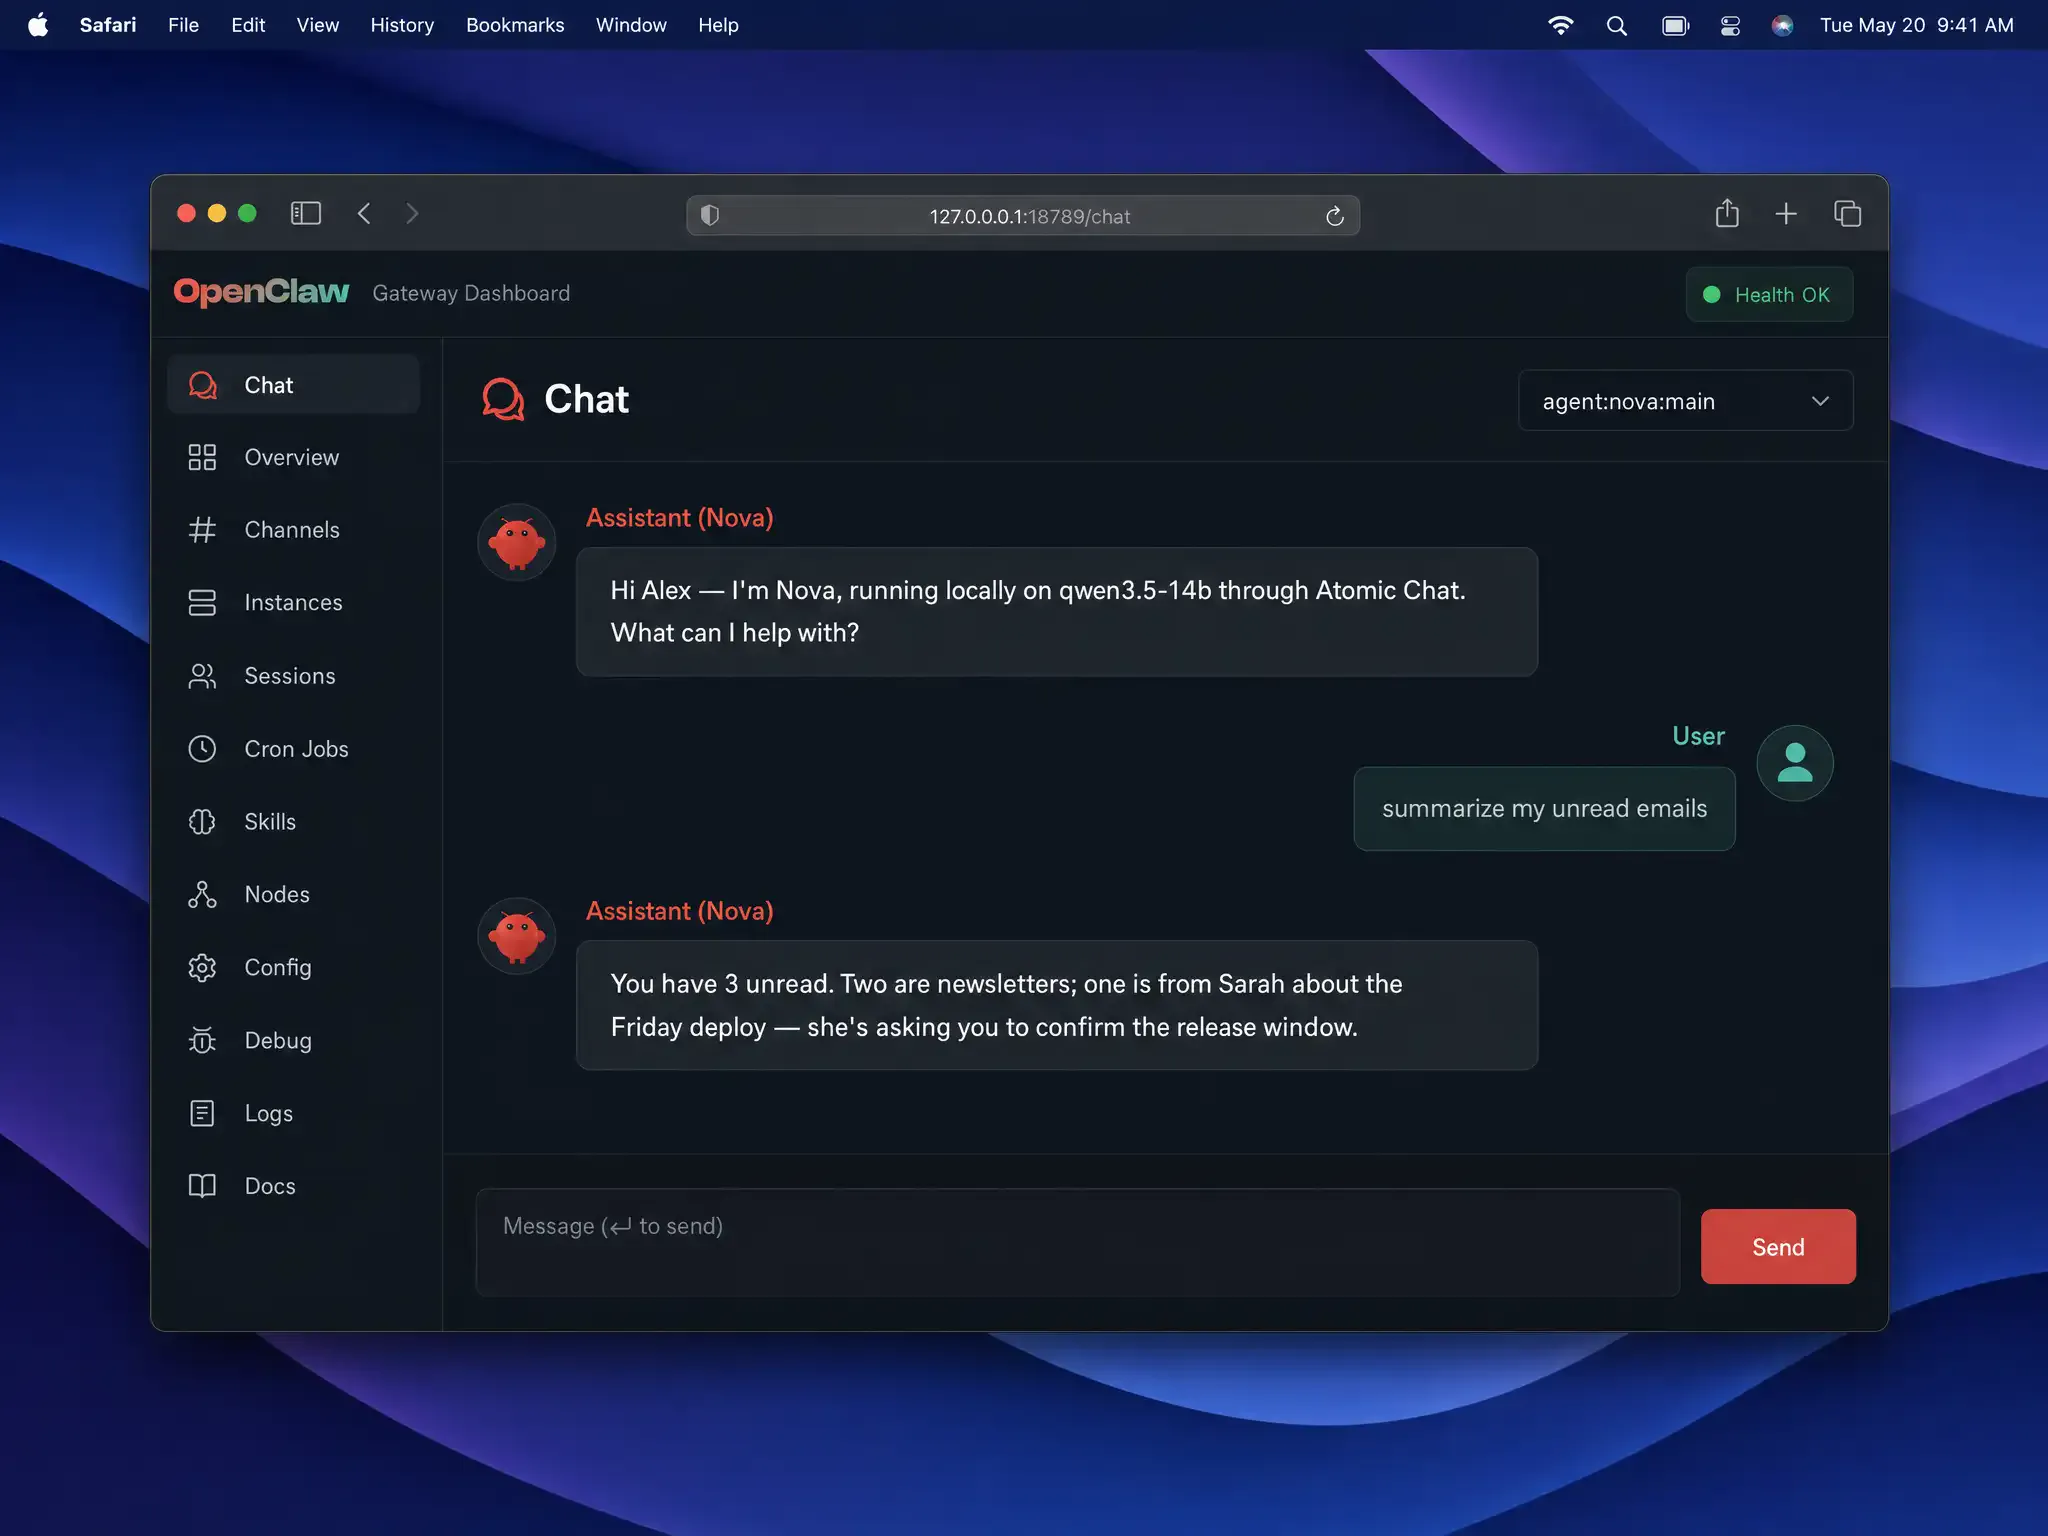
The OpenClaw dashboard (Control UI)
Open the dashboard in your browser:
openclaw dashboard
It runs at http://127.0.0.1:18789/.
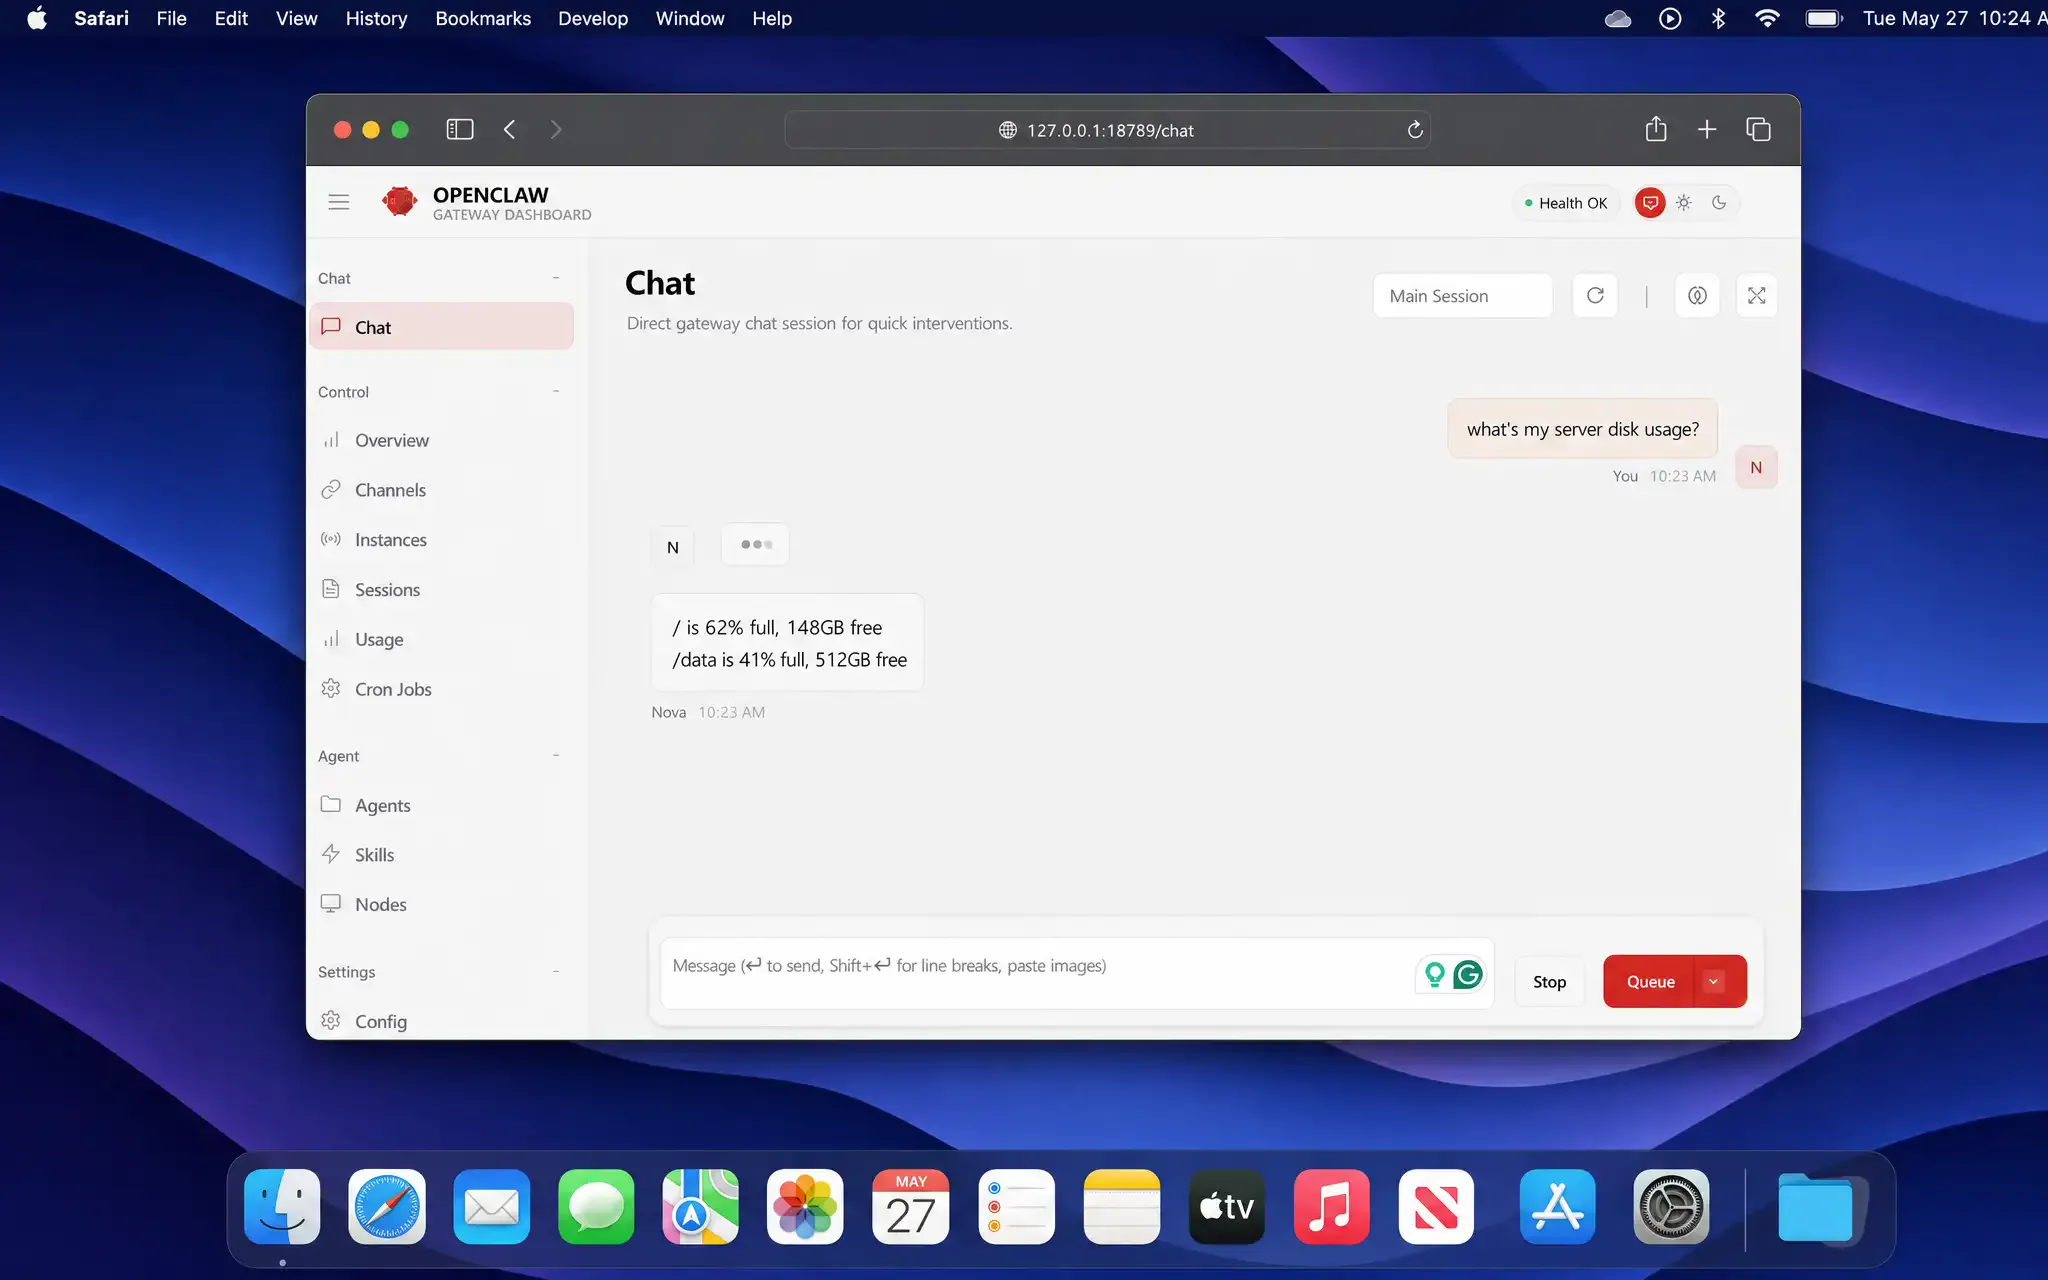
The Chat tab is another place where you can send messages to your agent:
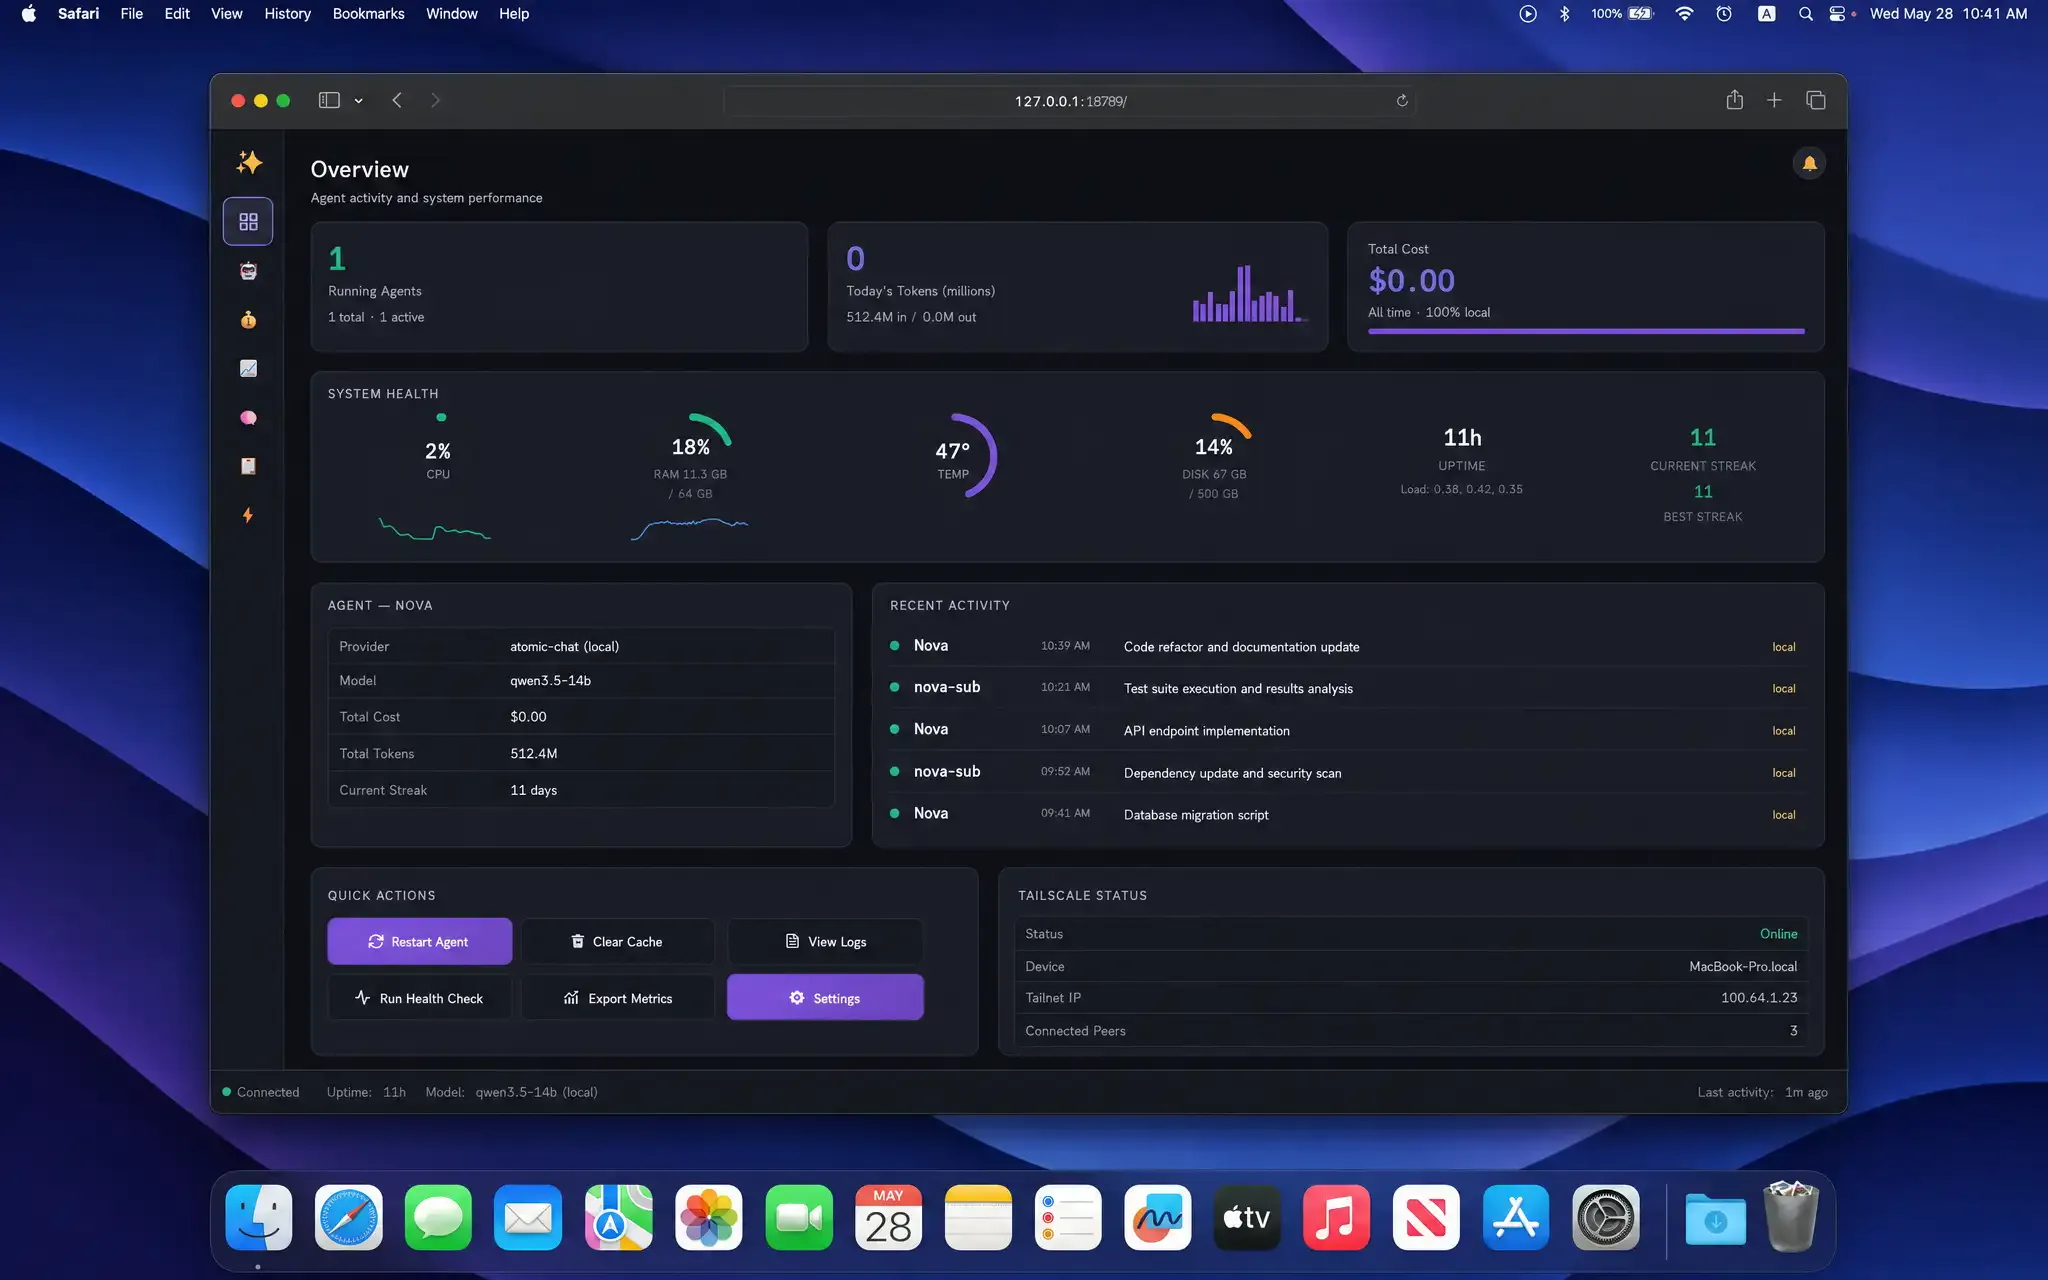
The Overview shows lifetime usage stats:
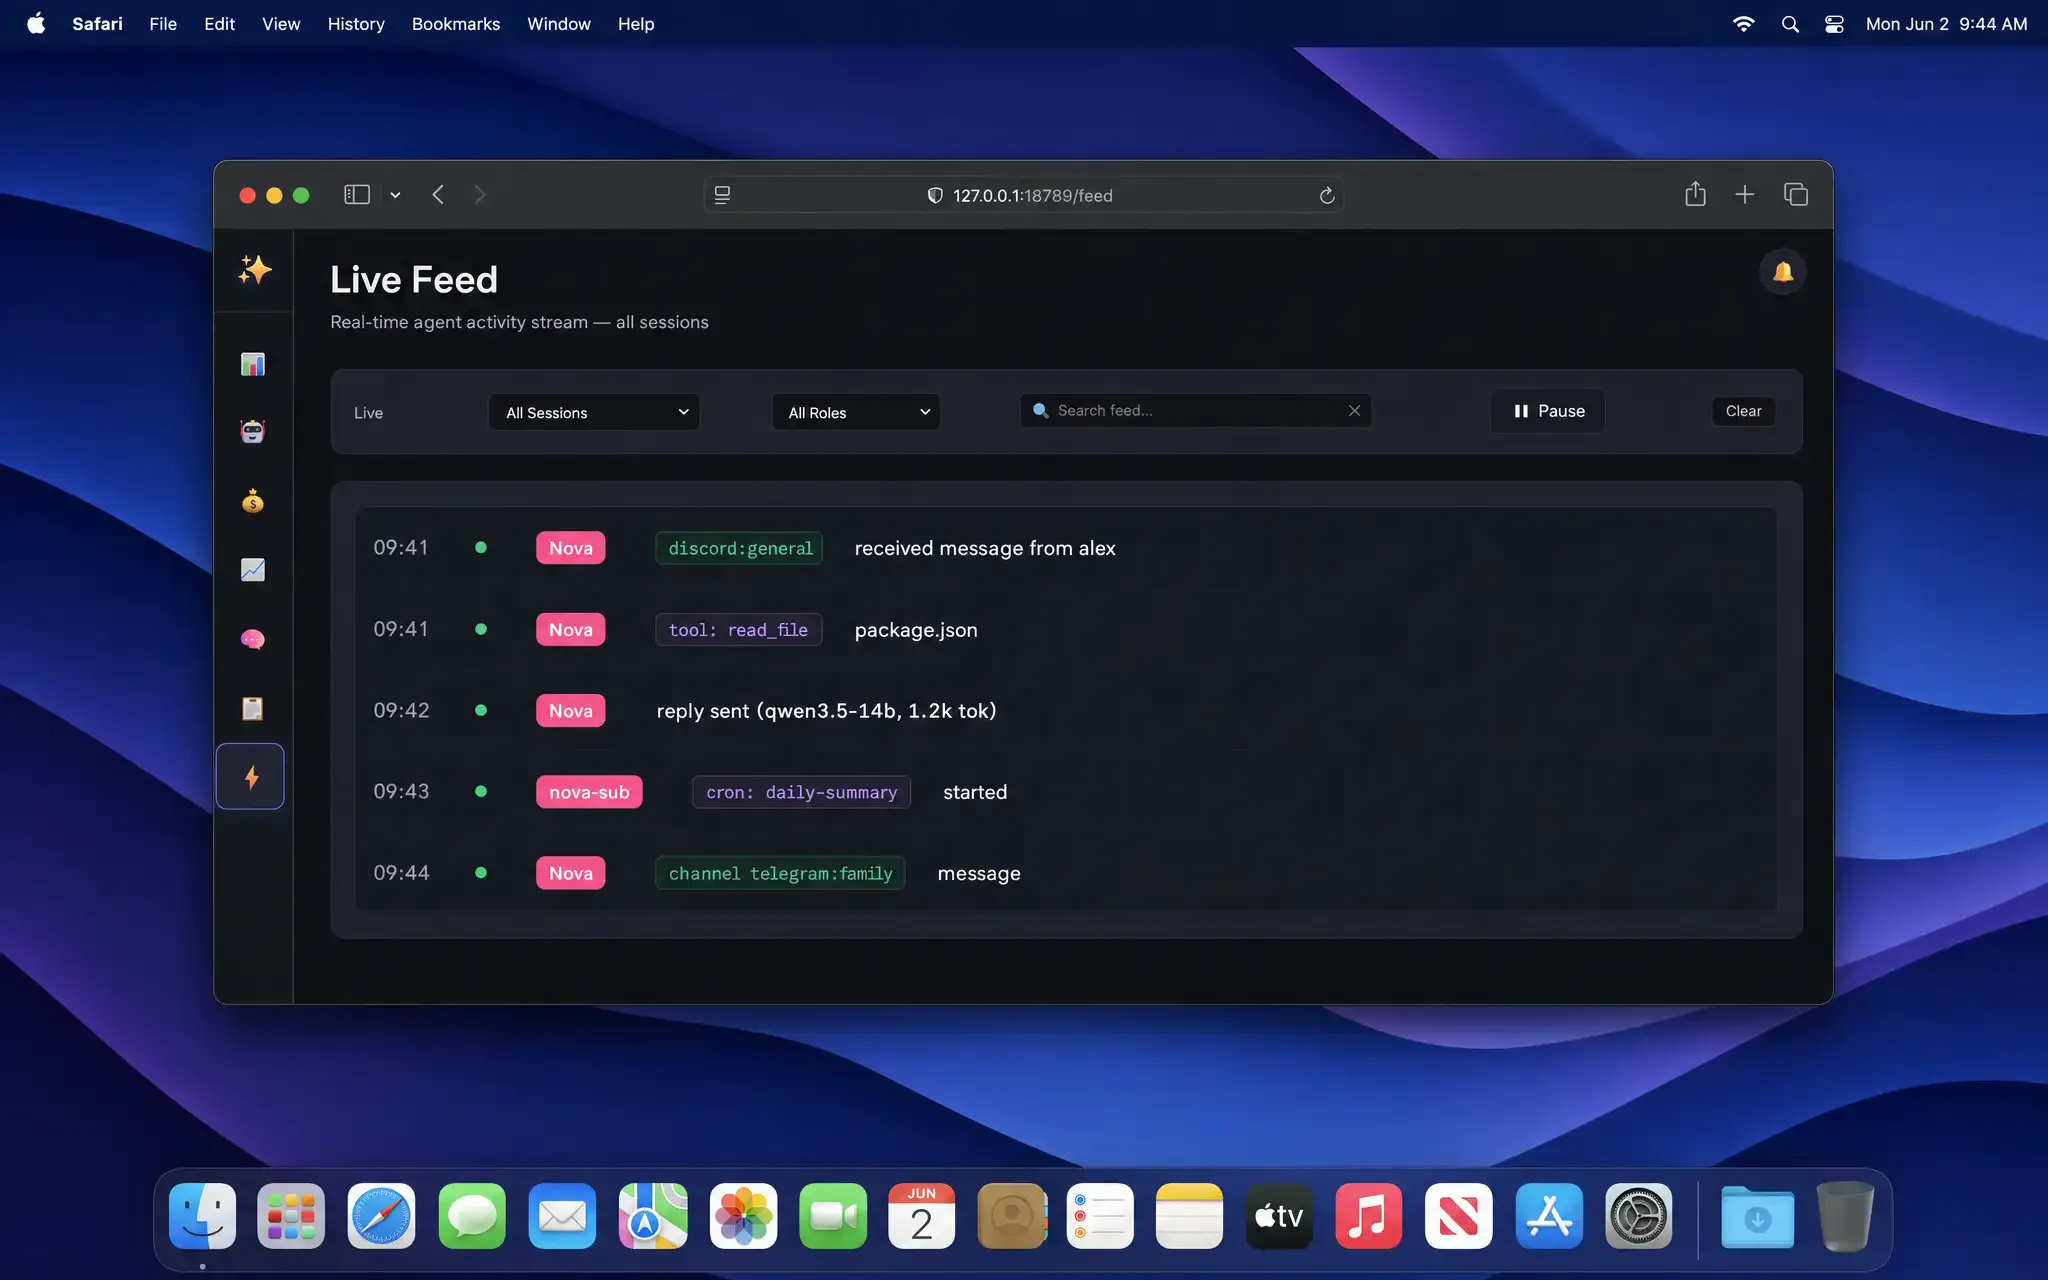
The Live Feed streams agent events in real time:
And the Logs viewer shows the raw gateway output:
And that's it — you're officially running an OpenClaw agent powered by an offline AI model.
Benefits of running your OpenClaw agent locally
Running OpenClaw on a local model gives you a few concrete advantages over a cloud-hosted setup:
- Local AI is free. Local inference runs entirely on your hardware which means you never have to pay per-token API bills — the only expense is electricity consumed by your machine.
- Local AI is private. Your messages and the model never leave your machine.
- No rate limits. You'll never run into a provider's quota, be downgraded to a less powerful model because you run out of quota, or find that your task froze midway because you ran out of tokens.
- Local AI works offline. So your local OpenClaw agent will keep chugging along even if you work in the subway on a commute.
Key Takeaways
If you only remember a few things from this guide, make it these:
- Atomic Chat is the model, OpenClaw is the agent. Atomic Chat downloads an open-weight model and serves it locally at
http://localhost:1337/v1, and OpenClaw is the agent that runs on top of that model and connects it to your messenger apps. - The two connect through one config block. You point OpenClaw's model provider at Atomic Chat's
baseUrl(http://localhost:1337/v1, withapi: "openai-completions"), and that's the whole integration. - Keep the model loaded. The Atomic Chat server only answers while a model is running, so leave the app open with your model loaded before you start the OpenClaw gateway.
- You need a decent machine. A local model wants at least 8GB of unified memory (Mac) or VRAM (PC), and a bigger model means better answers but more RAM and slower replies.
- Once it's running, it's free. No per-token bills, no rate limits, and nothing leaves your device — the only cost is the electricity your machine uses.
Bottom Line
That's how you run the OpenClaw agent locally: Atomic Chat serves the model, OpenClaw runs on top of it, and the whole thing works entirely offline. There are some trade-offs, of course. If you're using a low- or mid-range machine, the reasoning quality and generation speed won't match cloud models like ChatGPT or Claude. On the other hand, you also won't be paying hundreds — or even thousands — of dollars a month to run it.
Instead, it's completely free. And that's one of the biggest advantages of running AI locally.